There are no restrictions on the number of users that there can be in the workspace, but the ability to invite new users is only available to Owners. In order for other users to gain this privilege, they must be promoted to Owners.
To invite a user to the workspace:
1. Click the settings icon.
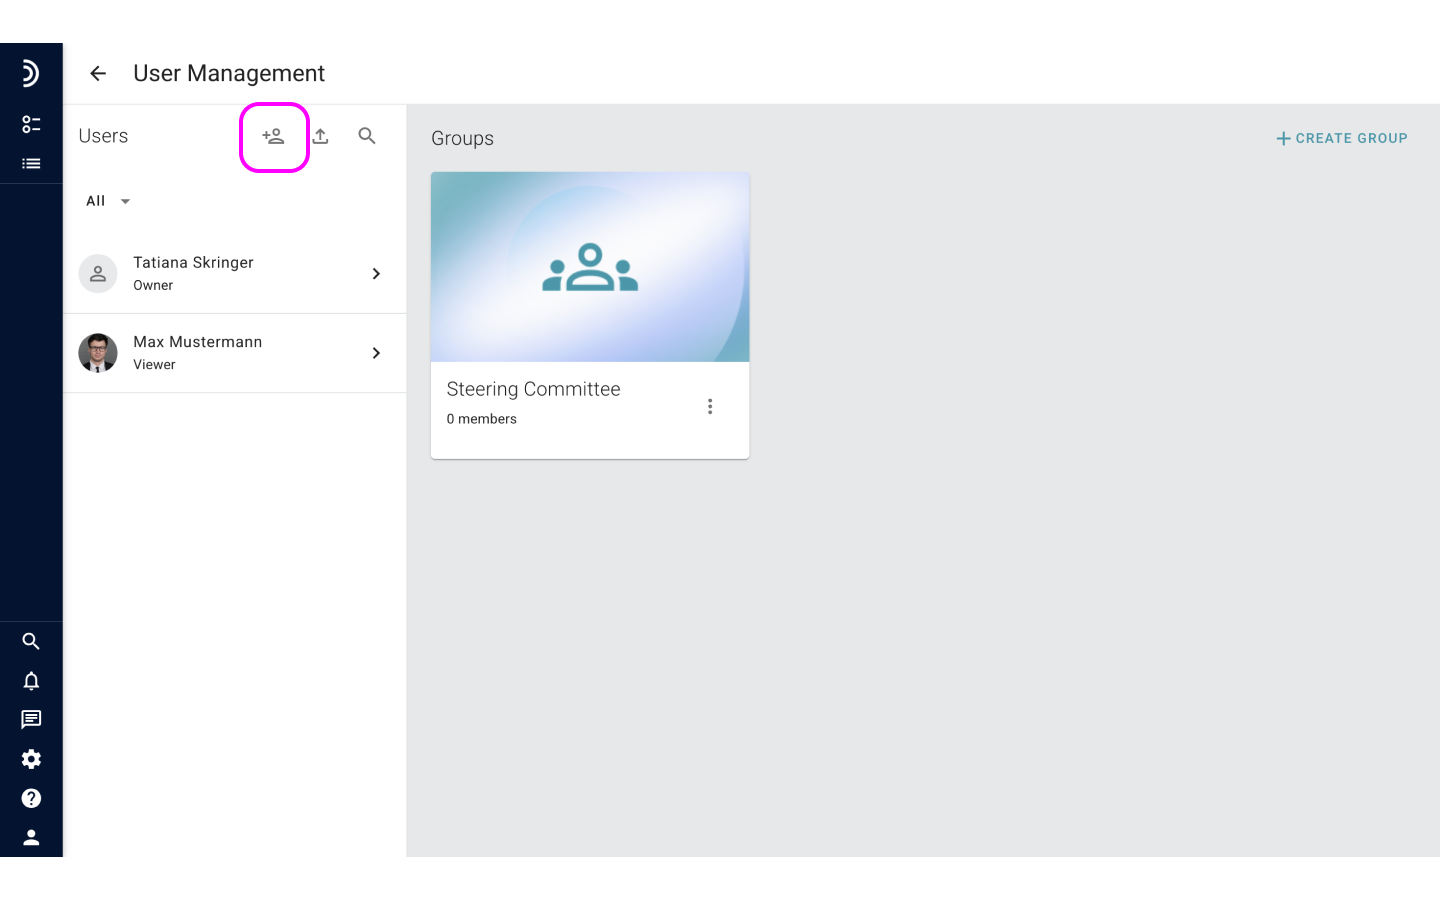
2. Go to User Management.
3. Click the new user icon.

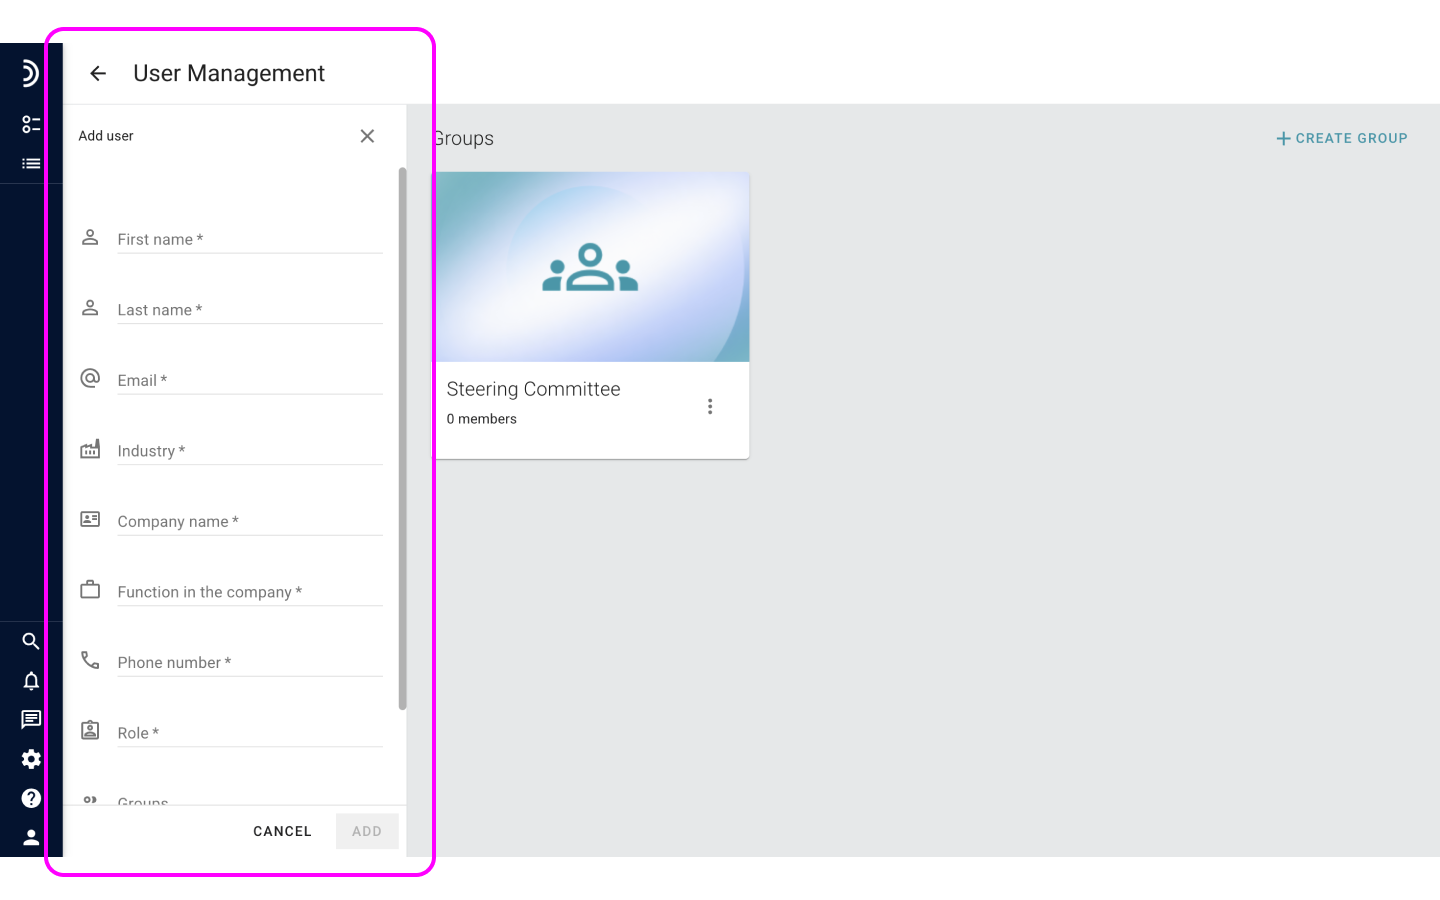
4. Enter the user’s full name to help yourself and others identify them in the system.

6. Click in the Role field to select one of four roles that will define the user’s default permissions in the system. Learn more about roles and permissions.
7. Optional: Click in the Groups field to choose one or more groups your invitee will automatically be added to.
8. Optional: Check the box if you’d like to email the invitation to the user right away.
9. Click Add.
If you have chosen to send the invitation, the invitee will instantly receive an email with a link to finalize their registration.
If you haven’t, there are two options available for you on the added user’s profile. You can either click Resend invitation to email a message straight from the user’s profile. Or, you can click Copy invitation link and share it using any of your preferred communication channels.
Note
All newly added users are first marked as Invited. An Invited user can become Active and start using the system only after they personally accept the invitation to join the workspace. Otherwise, the invitation is considered to be pending, and the user cannot log in.