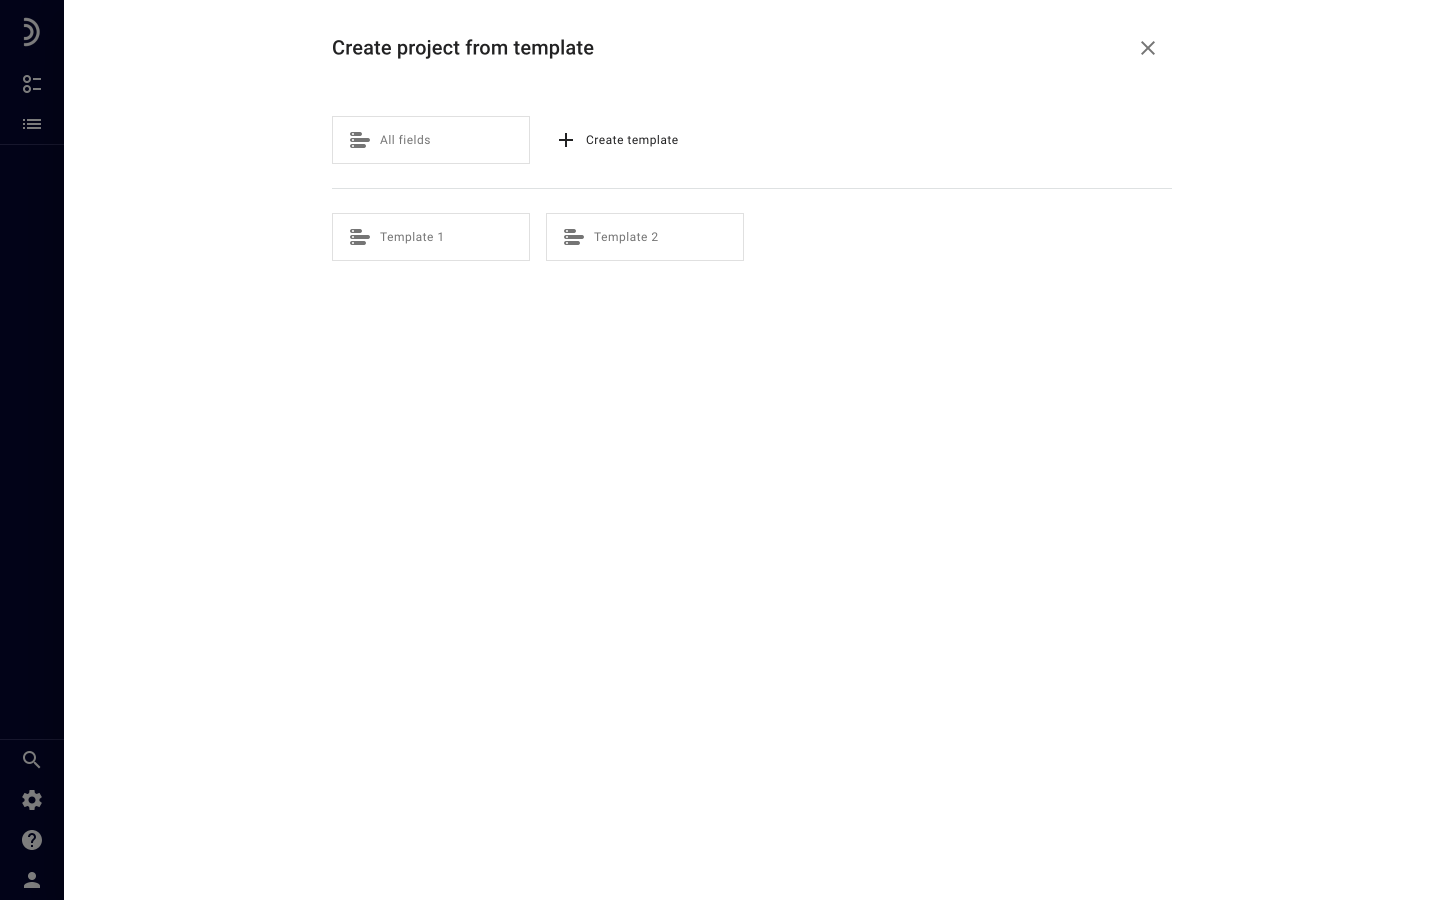
When entering a project manually, you can choose between using all fields that exist in the workspace and a template, composed of only a part of them. In both cases, the actual process of adding a project is the same.
To add a project:
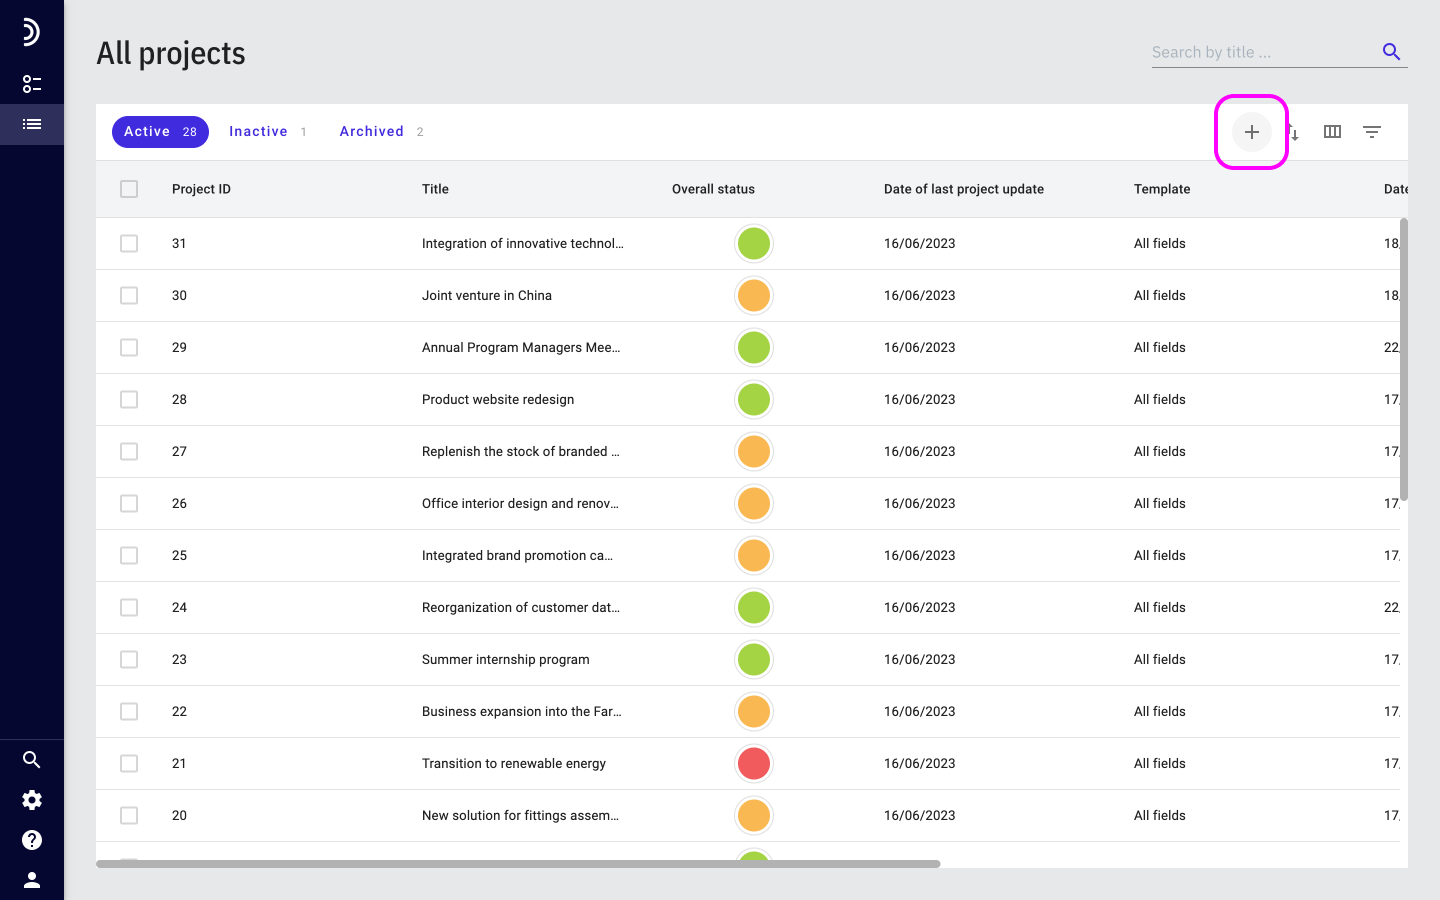
1. Click the + button in the sidebar.
2. Select Add Project.

3. Click All fields or a relevant template.

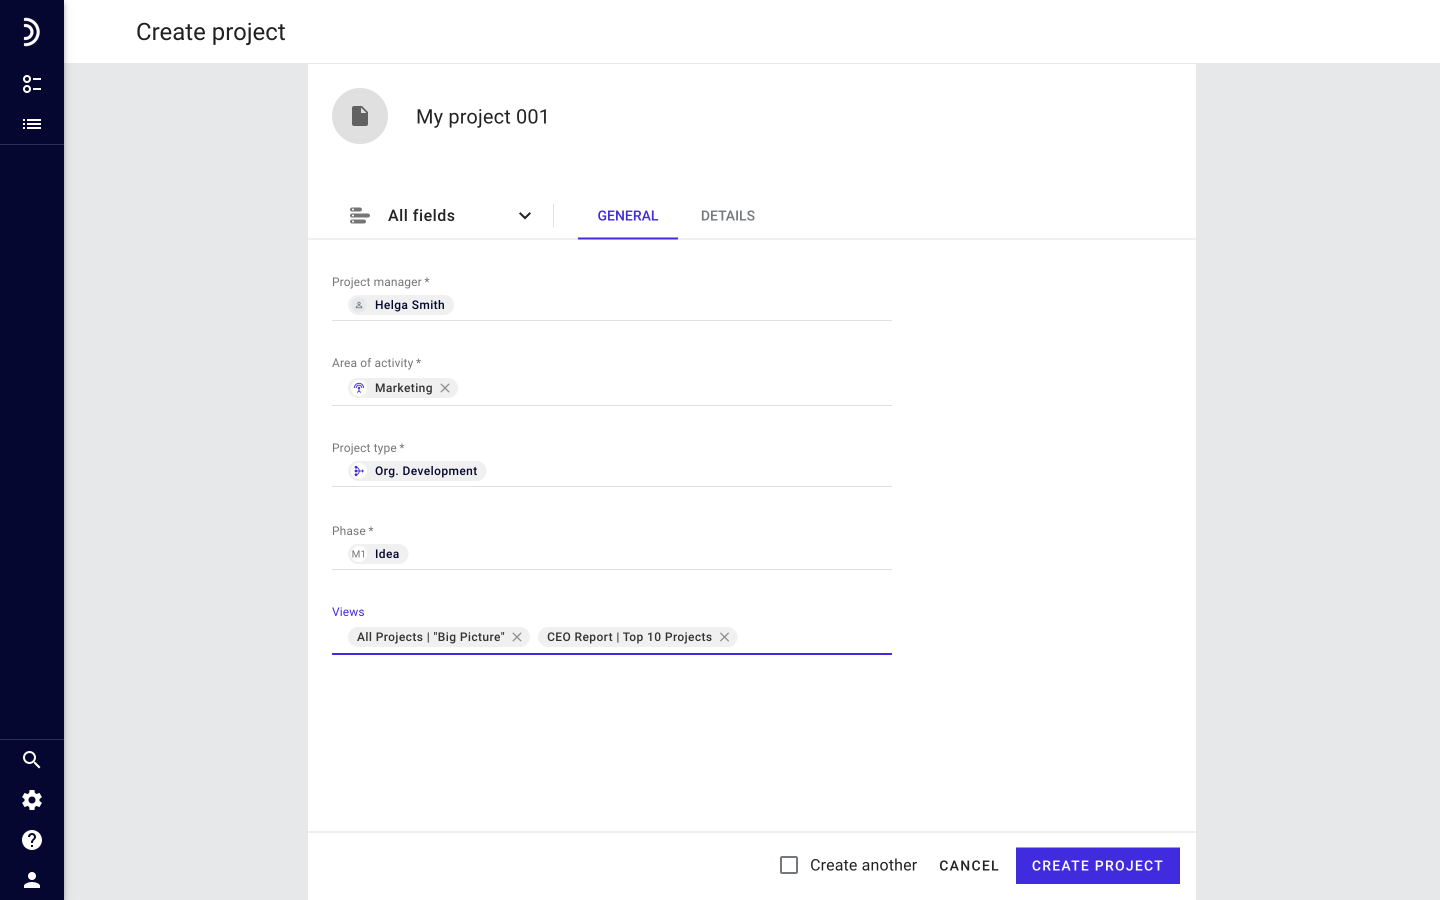
4. Enter a project title.
5. On the General tab, fill out all fields marked with an asterisk – they are required.

6. Optional: If there are views in the system to which you want to add your project, you can select them from the drop down list.
7. Click the Details tab and add more information about the project.
8. Optional: To immediately proceed to adding the next project that is structured in the same way, select the Create another checkbox at the bottom of the form.
9. Once you have filled all the applicable fields, click Create project.
Note
The structure of any project can be easily adjusted by switching the current template to any other template or the entire set of all fields. This action does not affect the entered data and is available both while a new project is being added and after it has been saved.