This article covers:
Types of project connections
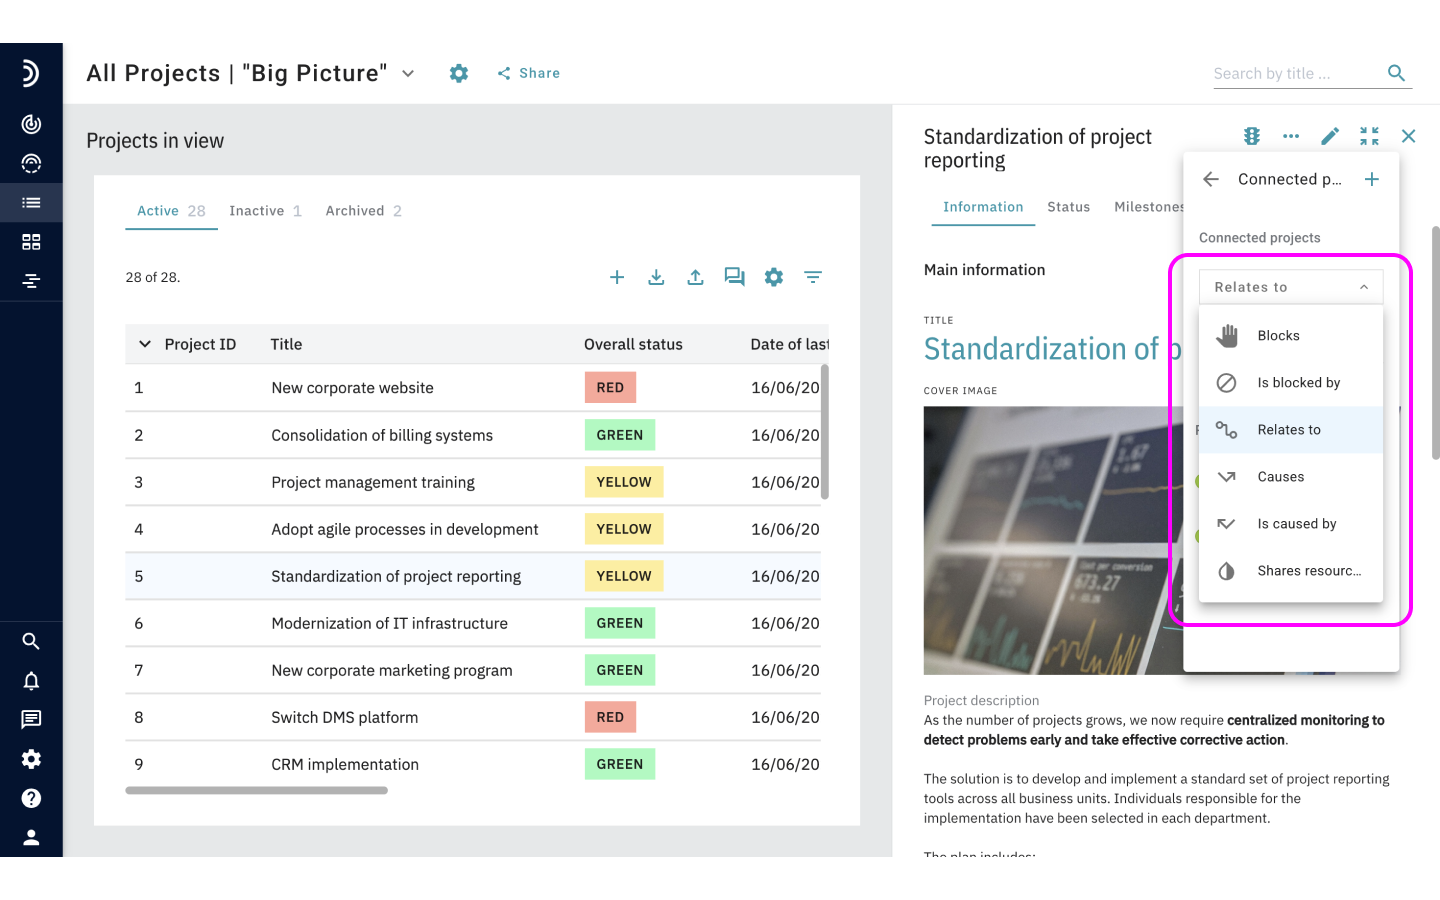
A single connection links two projects and denotes the relationship that exists between them. There are four connection options in the system:
Bilateral
Two projects are mutually affiliated, but are not affecting or depending on one another:
– Project A relates to Project B
– Project B relates to Project A
Dependent
One project is preventing the other from start or completion:
– Project A blocks Project B
– Project B is blocked by Project A
Causal
One project is a subproject or a consequence of the other:
– Project A causes Project B
– Project B is caused by Project A
Resource-based
Two projects are constrained by the same resources (people, money, etc.):
– Project A shares resources with Project B
– Project B shares resources with Project A
A project can have an unlimited number of connections, and a pair of projects can be linked by all types of connections at the same time.
Since dependent and causal connections can be created in both directions, the total number of possible connections between any two projects is six.
Enabling project connections
To be able to associate projects with each other, you must first enable the Project connections feature.
To enable project connections:
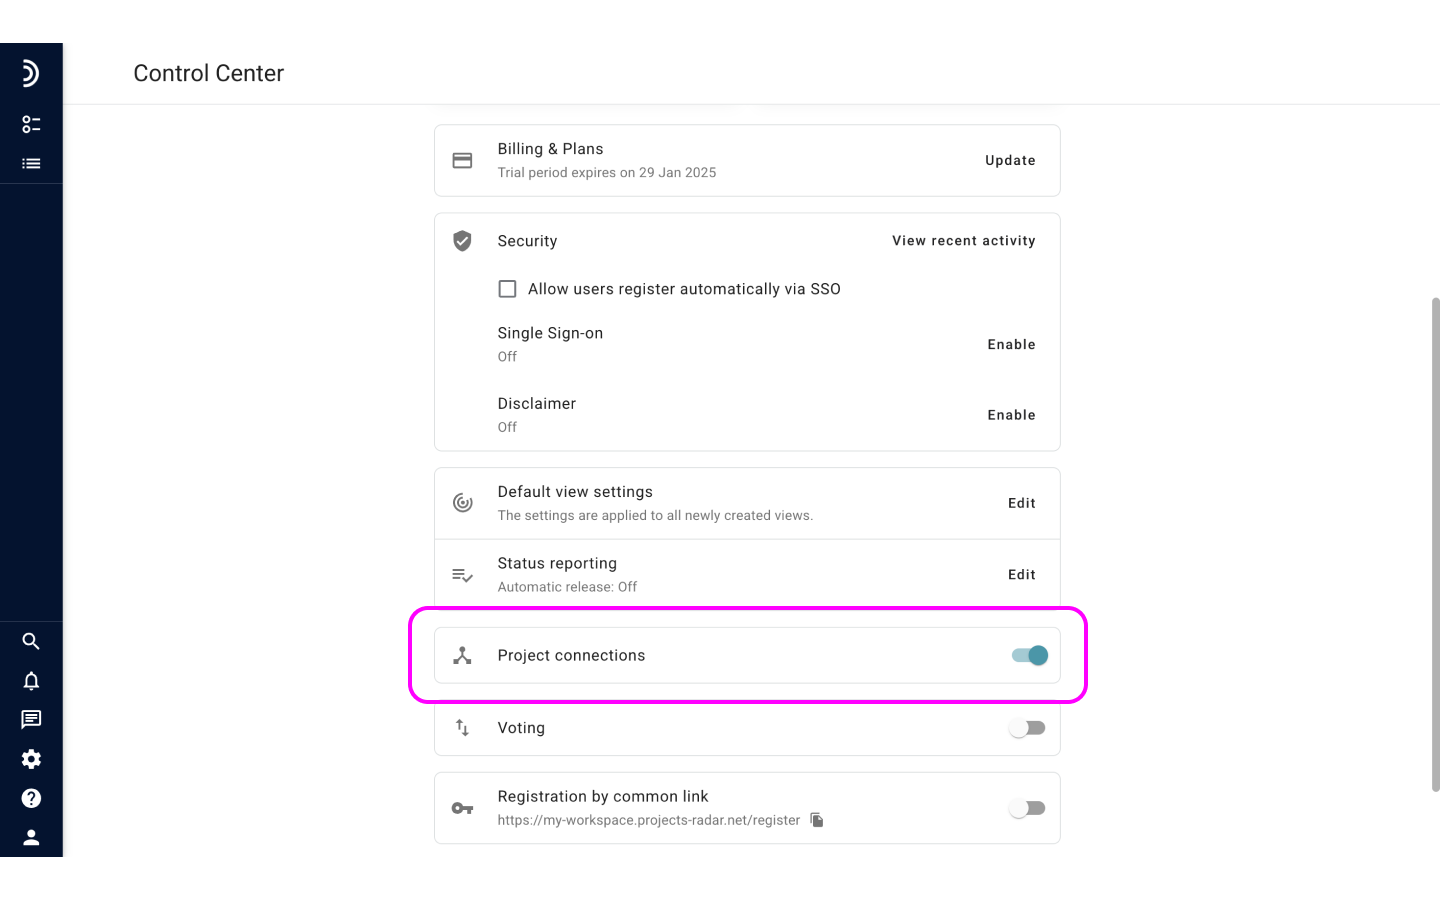
1. Open the Control Center.
2. Toggle the switch next to Project connections.
Note
Disabling the Project connections feature in Control Center will hide all existing connections and prevent users from creating new ones. However, this action does not permanantly delete the connections data and enabling the feature will make the connections to reappear.
Creating a connection
All projects in the workspace can be linked with and among each other, whether they are active, inactive or archived.
To create a connection:
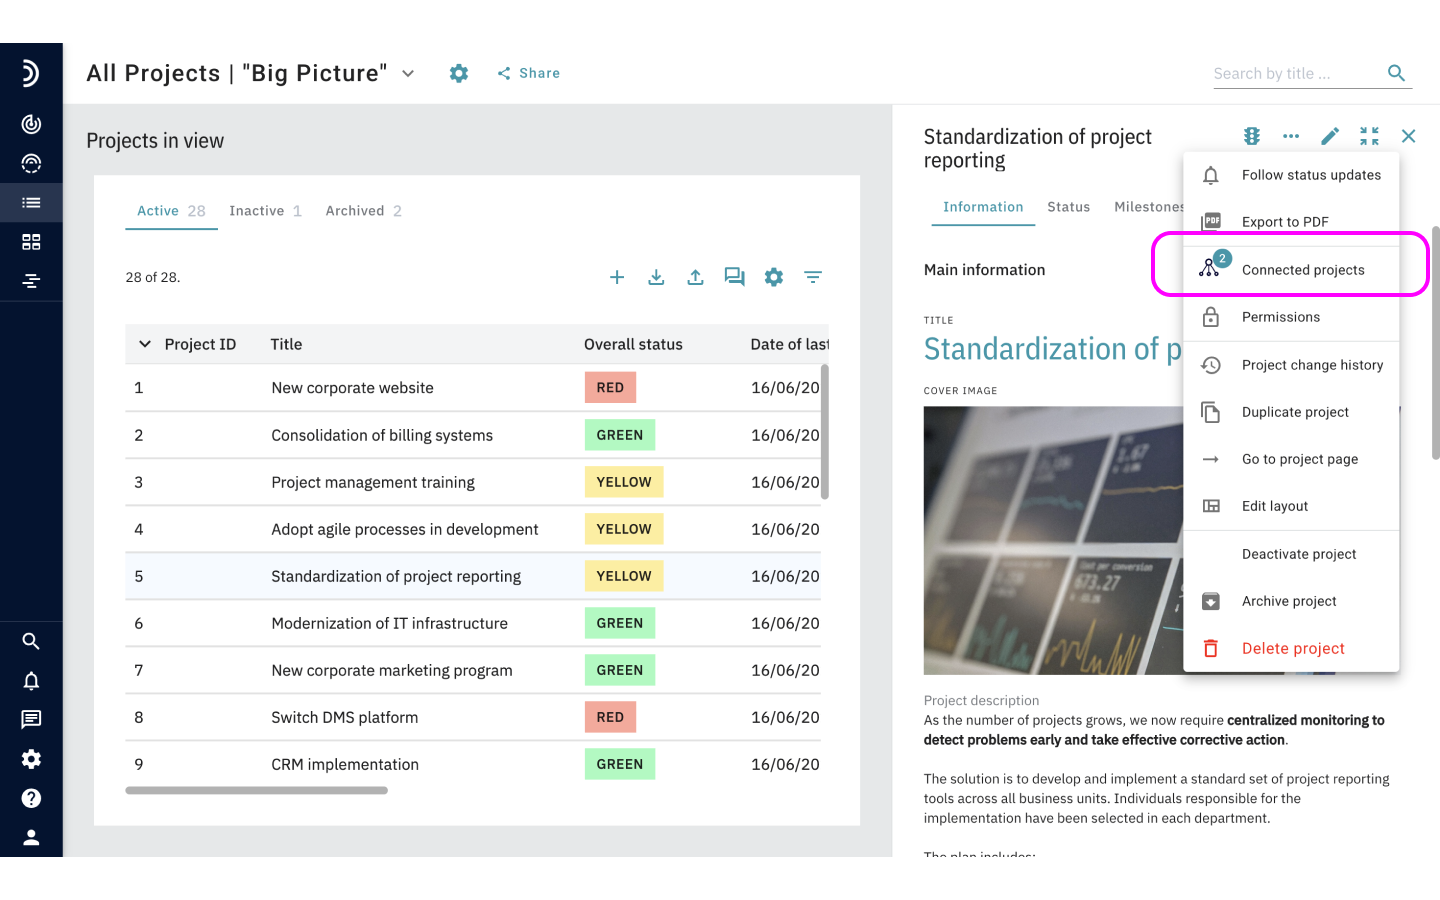
1. Open a project profile.
2. Click on “…” and select “Connected projects” in the menu that appears
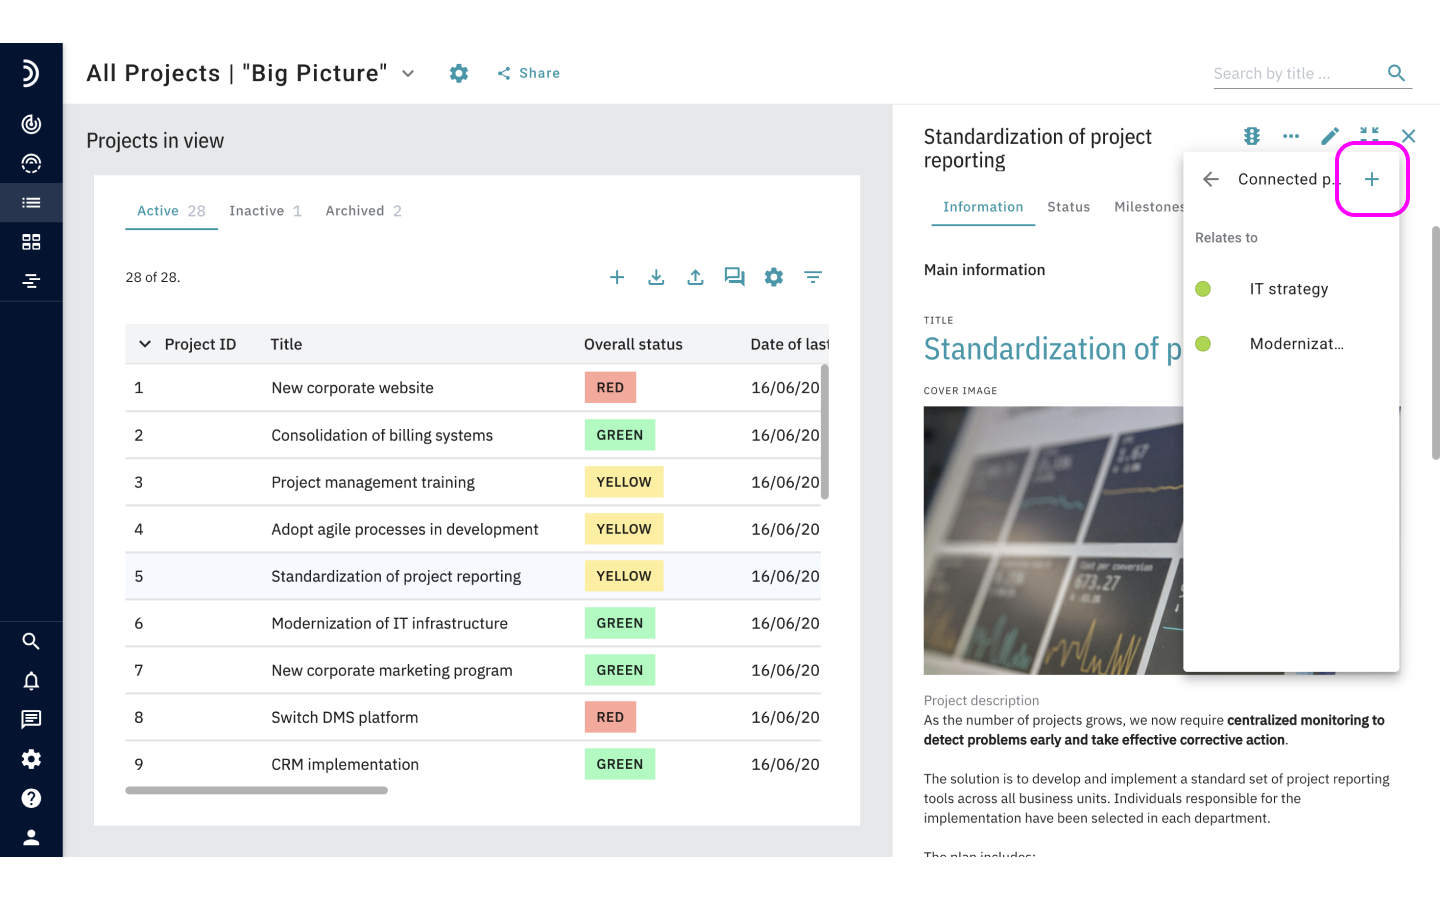
3. Click “+” to add a new connection.
4. Select an appropriate type of connection from the drop-down list.
5. Click the Projects field to find the target projects. If you don’t see a particular project right away, start typing its title, and then select it from the drop-down list.
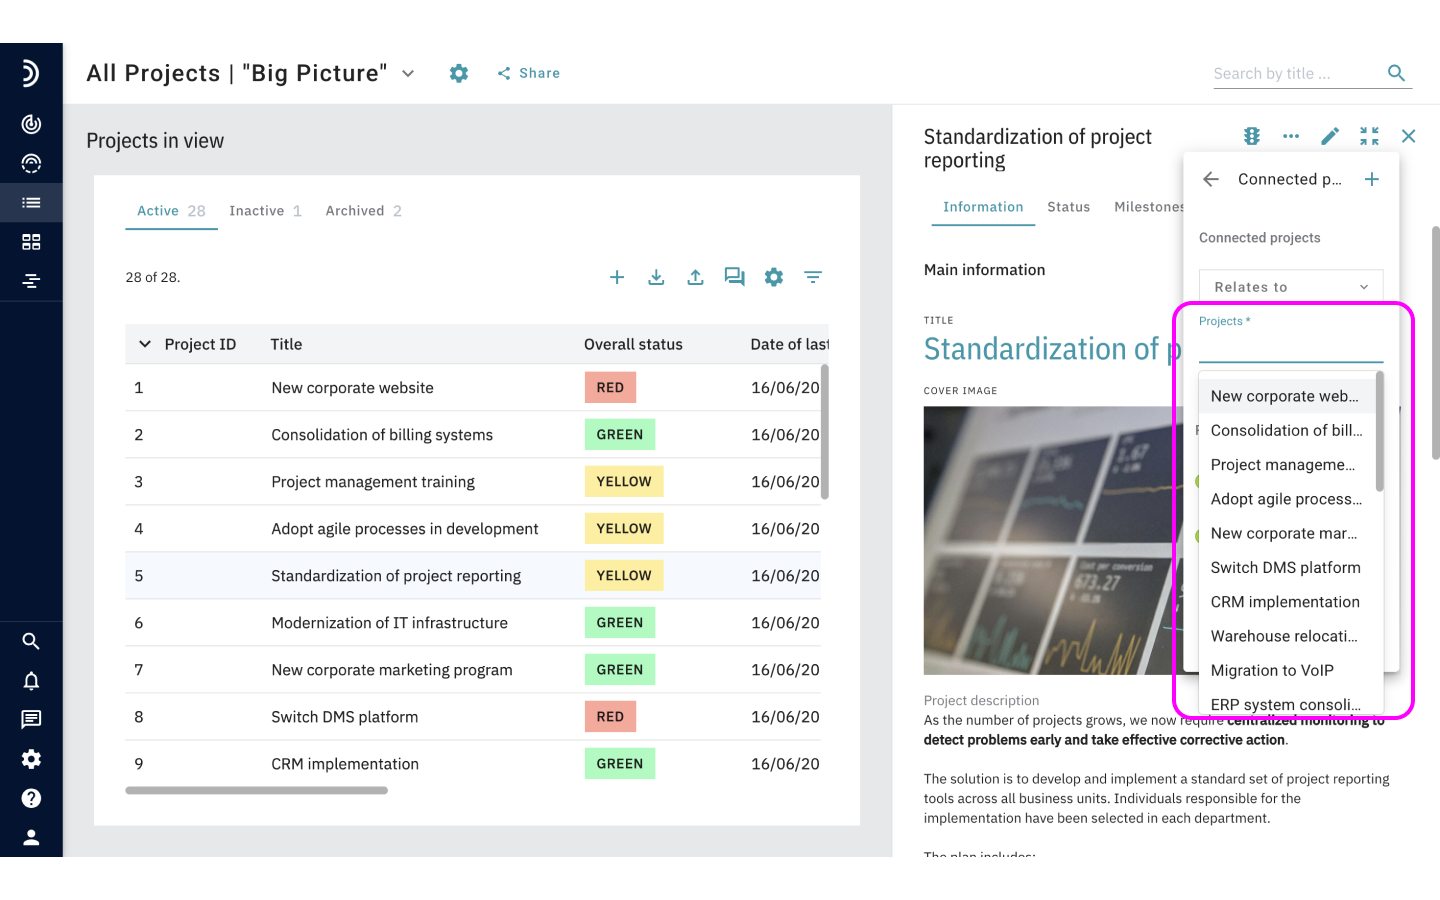
6. Click Save.
All connections are reciprocal. That is, when a connection is created, both linked projects receive an appropriate record and are included in the lists of connected projects on each other’s profiles.
So, if you specify that a source Project A is caused by Project B, the connection generated automatically on the target Project B will be that it causes Project A, and vice versa.
Visualizing project connections
You may choose to depict the whole range of relationships that exist between projects graphically.
When enabled, connections appear in views as solid lines going from one symbol to another. Every type of connection is represented by its own color, while arrows on top of causal and dependent connections also indicate their direction from the source to target project.
To show project connections in a view:
1. Go to Overview and locate your view.
2. Click the three dots and select Edit to open the view settings.
3. On the Basic Settings tab, click the toggle to enable Project connections.
4. Click Save.
Now, you can hover over any project symbol and instantly see how it is related to others.
Tip!
Whether project connections should or should not be visualized is set for each view individually. However, you can choose which of the options is set as default for all new views by enabling or disabling project connections under Default view settings in Control Center.
To overview connections for a specific project or a select number of projects, use the options available in the filters panel, as described below.
Note
A connection between projects can only be depicted if both projects appear in the view. If either of the two projects in a pair was deleted, archived, filtered out, or has never been added to the view, the connection will not be visualized.
1. Go to Overview and click the relevant view.
2. In the filters panel, click the Project connections section to open it.
3. Select one or several projects for which you want to see the connections. Projects and connecting lines will be immediately highlighted in the view.
4. Optional: If you want to display only the results of a certain kind, select the relevant types of connections.
5. Optional: To view connections beyond the first level, select the Show secondary connections checkbox.
Tip!
Secondary connections can just as well be visualized without selecting a specific project or a type of connection. Simply click the checkbox, and another level of connections will appear when you hover over the symbols.
Deleting a connection
A project connection will continue to exist as long as both projects are available in the system, or until the connection itself is deliberately deleted.
To delete a project connection:
1. Open a profile of either of the two linked projects.
2. Click on “…” and select “Connected projects” in the menu that appears
3. Hover your mouse over the name of any connected project and click on the “x”-icon next to it.
Note
Archiving a project will not delete any information pertaining to the links to other projects but will make it impossible to visualize these connections in views.