A template is a selection of fields saved together that can be used to simplify the process of adding new projects.
With a template, only a fraction of the total number of fields needs to be filled out, which saves time and is particularly handy when you plan to have a number of projects structured in the same way.
This article covers:
- How to enable the templates feature
- How to create a template
- How to edit a template
- How to add fields to a template
- How to remove fields from a template
- How to duplicate a template
- How to delete a template
Enabling templates
Before you can start creating and using templates, you must first enable the Templates feature.
To enable templates:
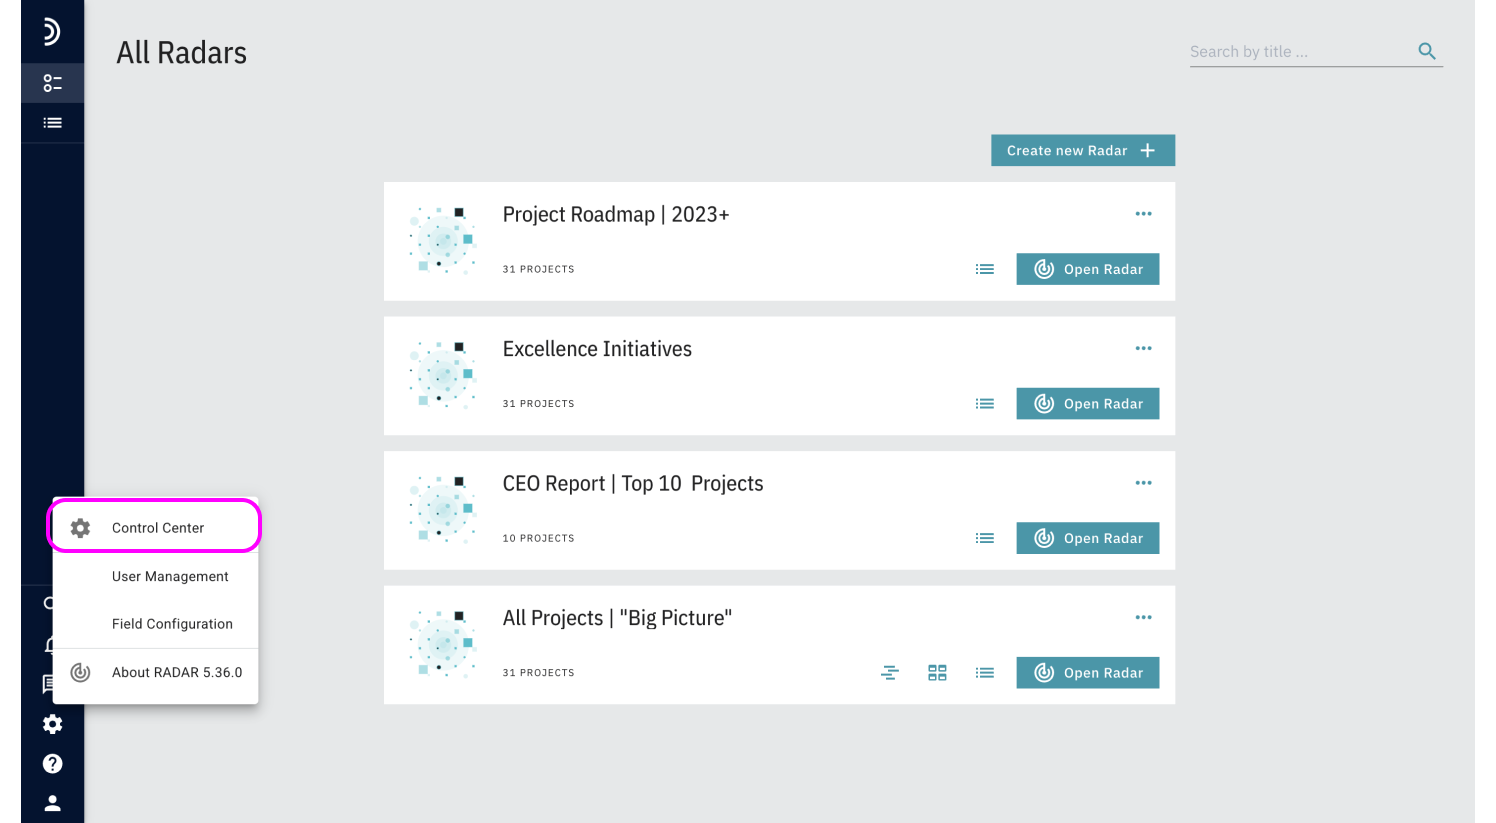
1. Open the Control Center
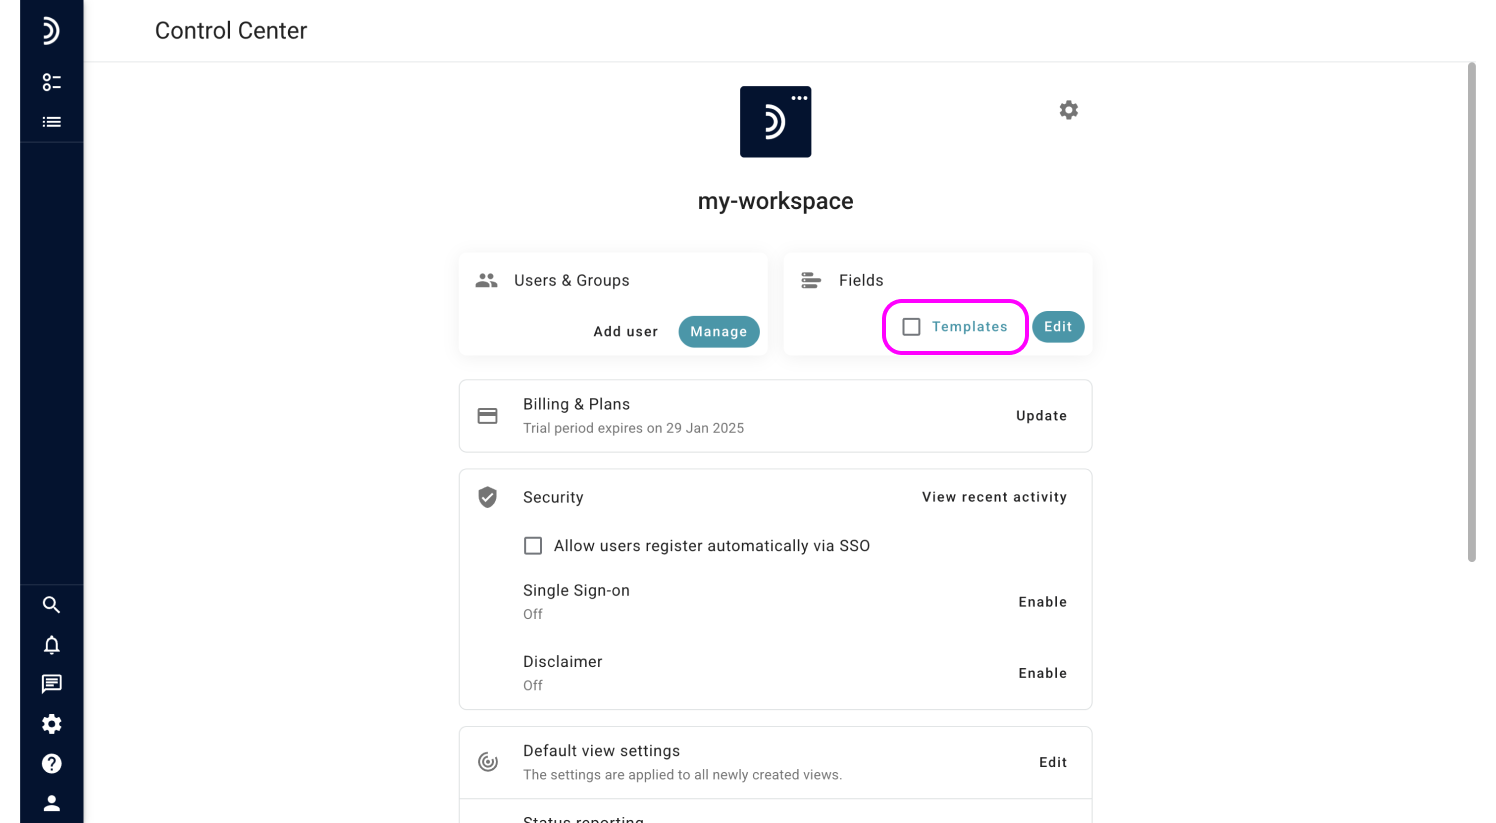
2. Click the toggle switch next to Templates.
Note
Disabling the Templates feature in Control Center will both hide all created templates from the Field Configuration area and disconnect them from projects that were added with their use. You can revert this action by re-enabling the Templates feature and selecting an appropriate template in the project again.
Creating a template
Including a field in a template does not remove it from the general list of fields or other templates. This means you can compile your fields into as many templates as you like and can have the same field appear in any number of templates.
For instance, you may create a separate template for each company department that deals with similar projects or for every project type.
To create a template:
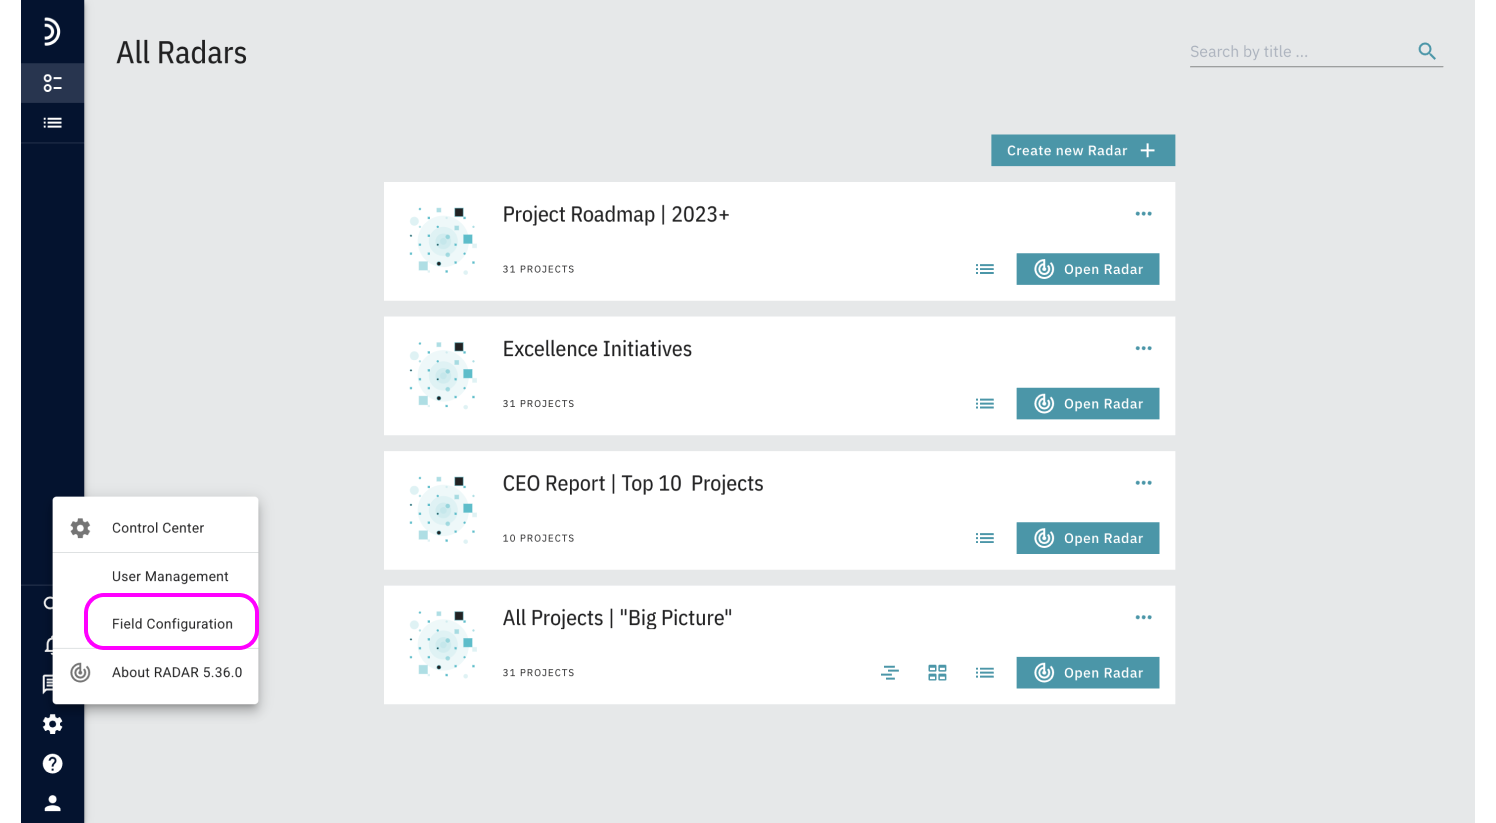
1. Go to Field Configuration.
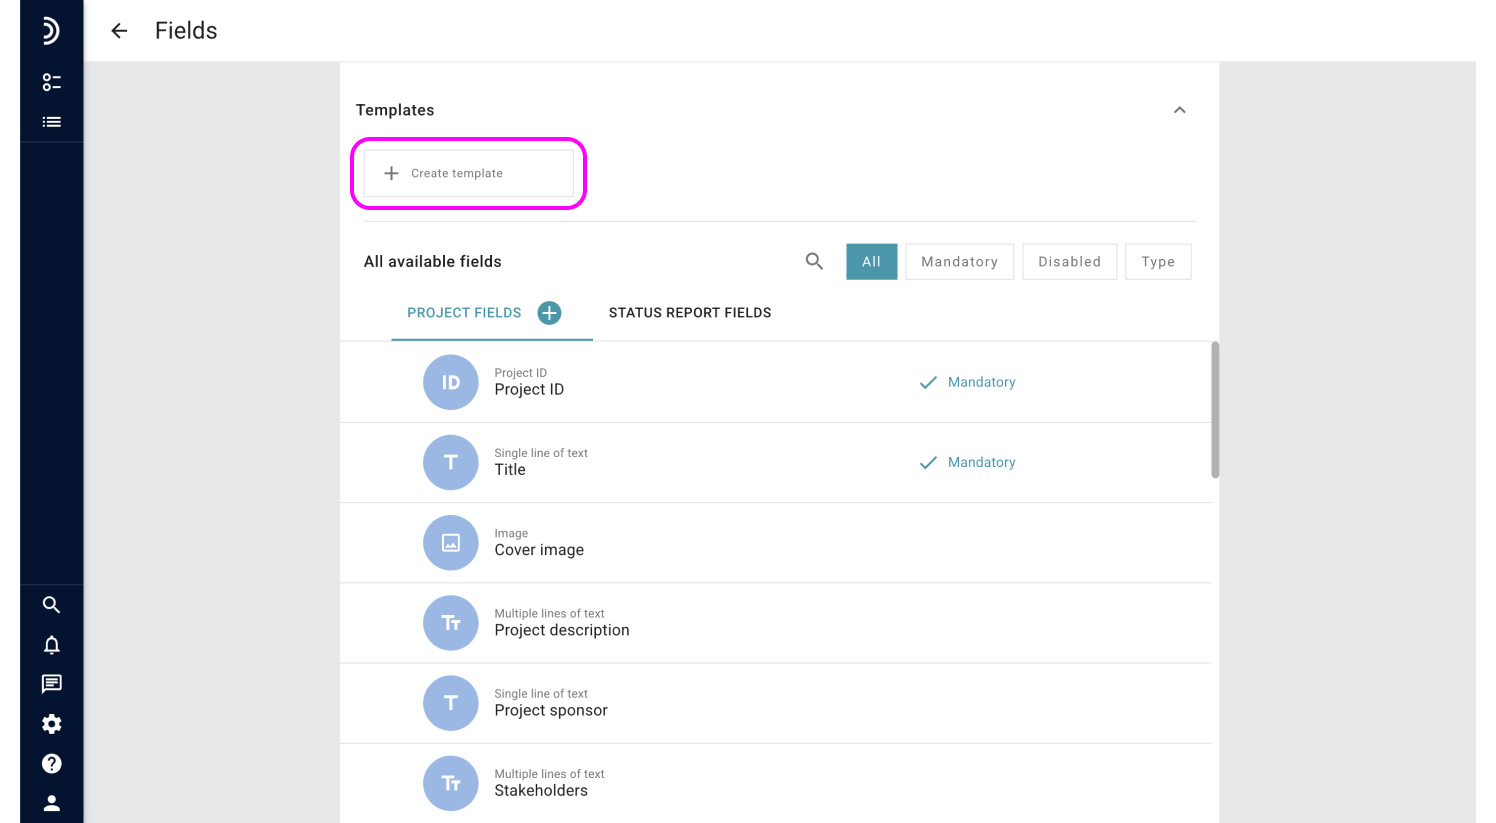
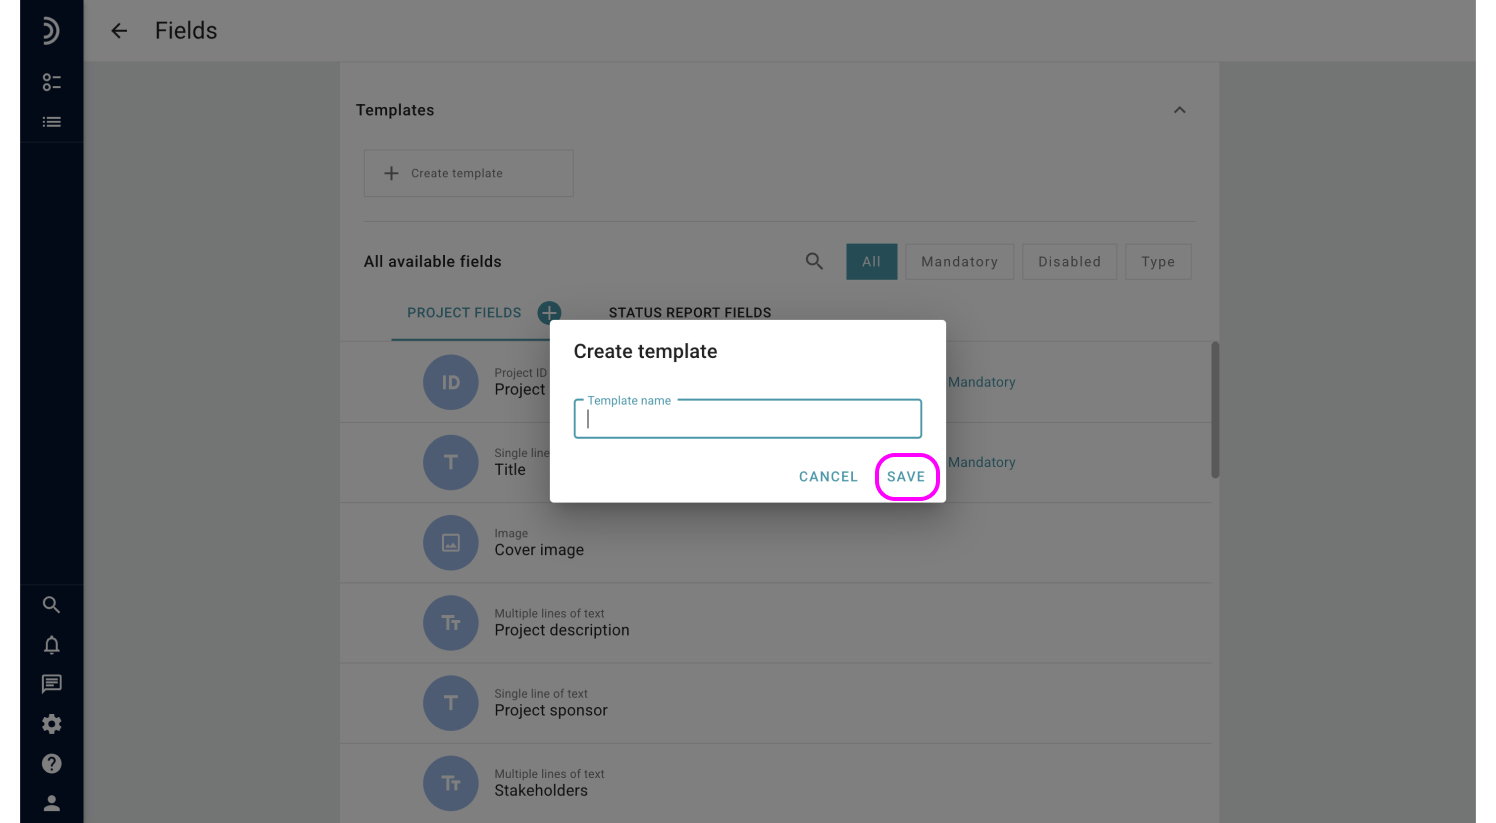
Once the new template has been created, it will appear in the Field Configuration area, and the option to add a project based on this template instead of using all fields will also become available.
Tip!
When a view contains projects added from one or more templates, these templates are suggested as relevant in the Look & Feel section of the view settings and thus provide a quick access to fields that you are most likely to use in the report or view.
Editing a template
Like all other entities in the system, templates have a set of attributes that serve to identify them and convey the purpose:
- Template name is what helps distinguish one template from another and is the only attribute that is required. It is advisable to give each template a unique name.
- Badge is an icon or image that can facilitate visual identification of a template in a list. Unless a custom badge is uploaded or selected from the Image Library, a default icon will be displayed next to the template name.
- Description is an optional attribute whose purpose is to provide details about the template. The text value entered as a description is visible only from within the tempate itself.
You can set and change the above attributes at any time.
To edit a template:
1. Go to Field Configuration and open the relevant template.
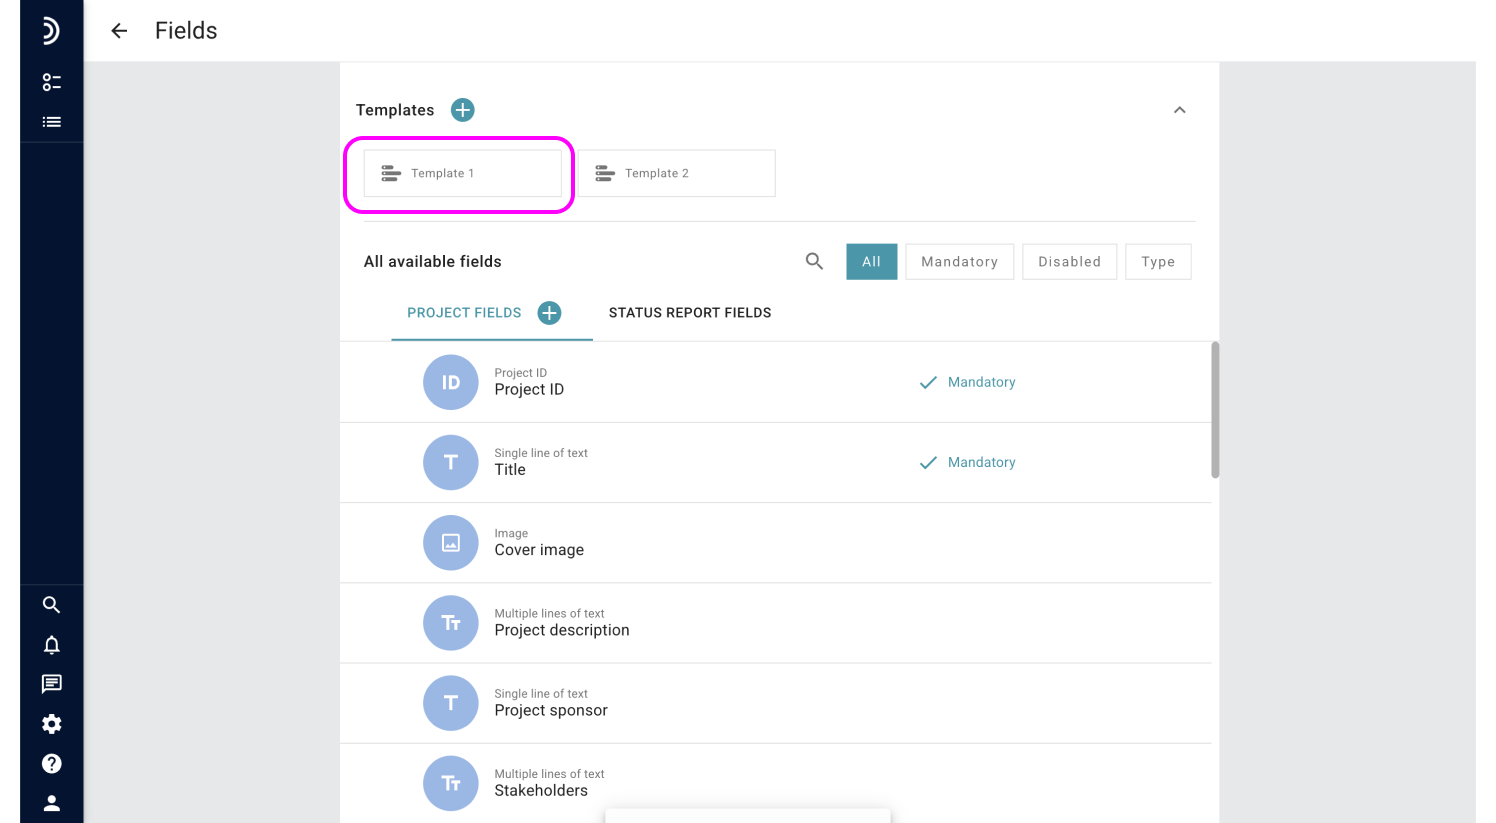
2. Click the field you want to edit and enter a new value.
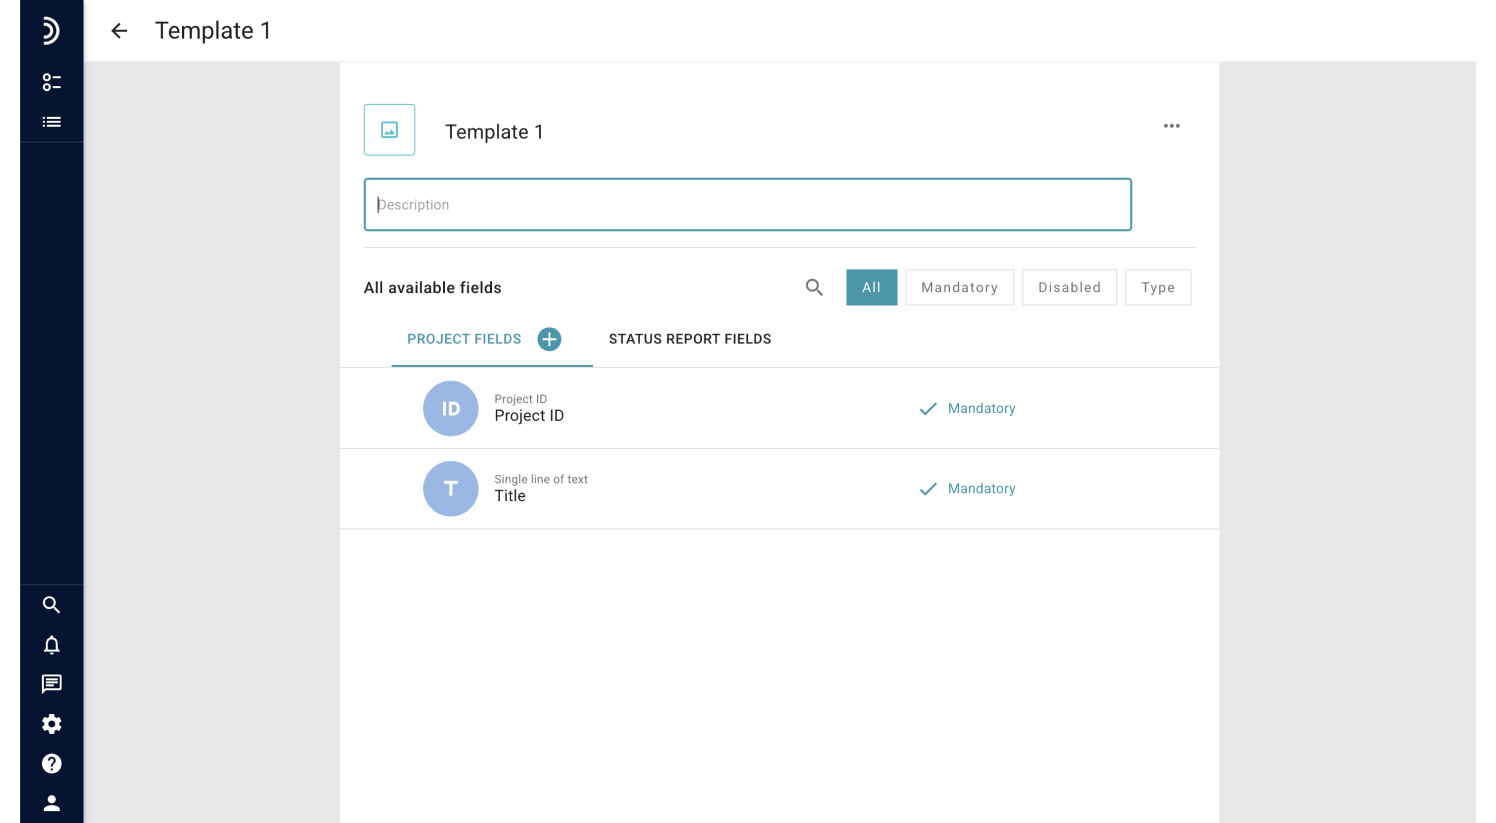
All changes made in the template are saved automatically.
Adding fields to a template
A template is always created containing a set of predefined fields which form the basis of a project in the system. You can customize it by adding more fields.
To add more fields to a template:
1. Choose whether you want to add a project field or a status report field and click the relevant tab.
2. Click the + button.
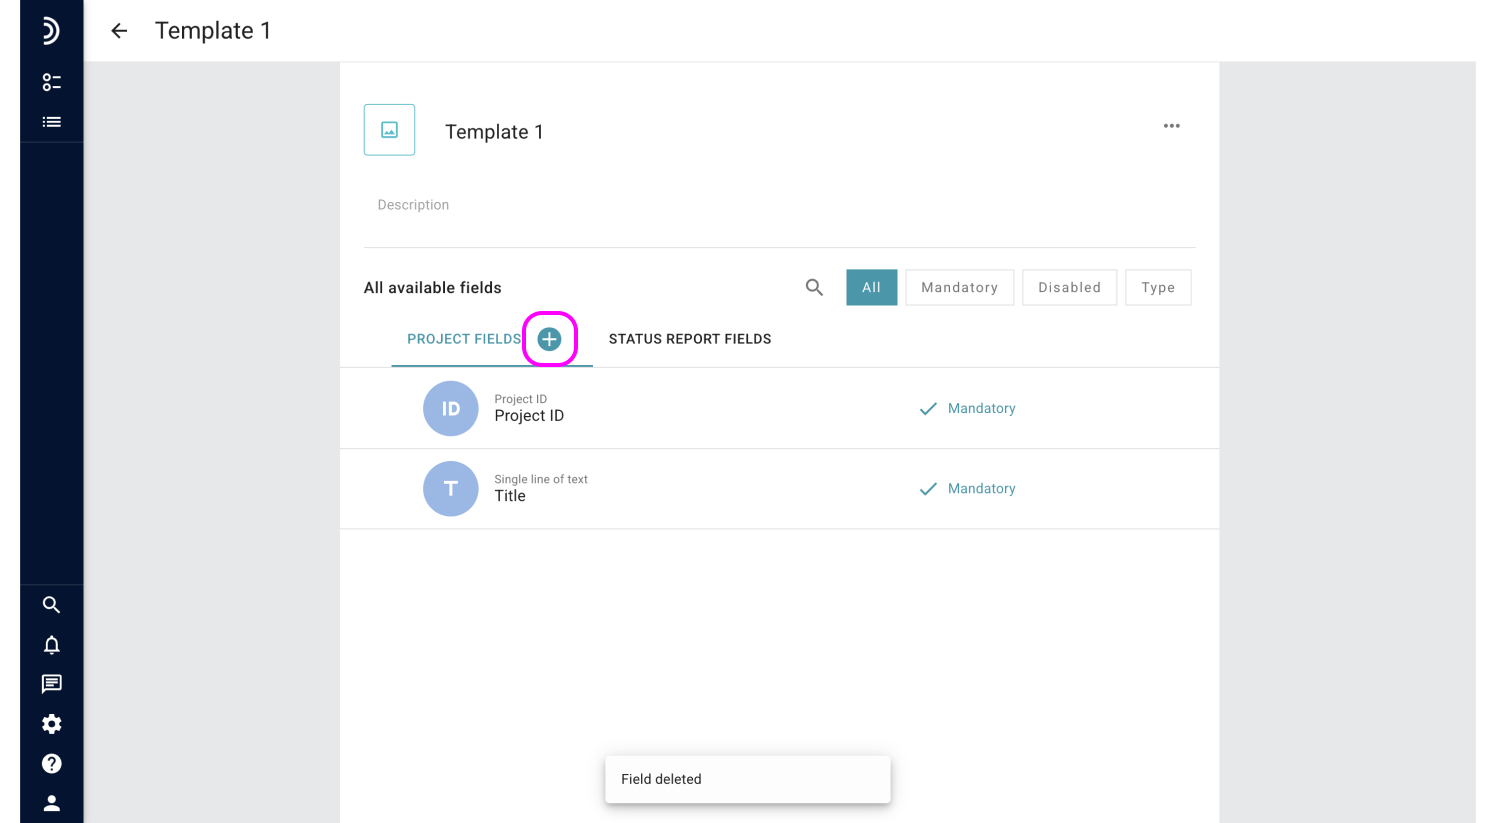
3. Click “Create new field” to configure a completely new field, or click “Select from existing” to view all fields and mark the ones you want to include in the template.
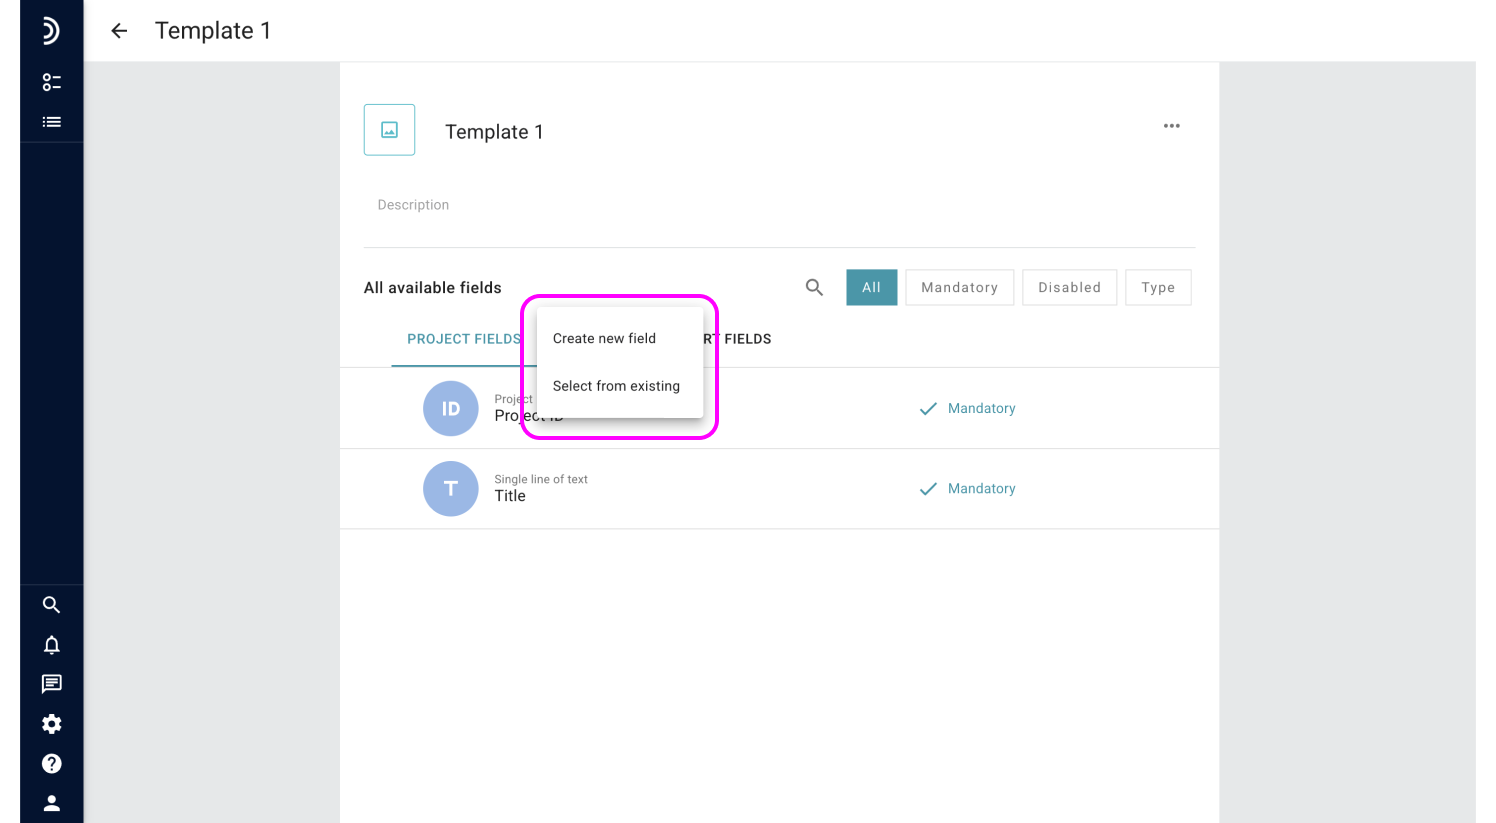
A field created from inside a template will be appended to the end of the list both in the template and in Field Configuration, and can then be added to other templates.
Removing fields from a template
Just as easy as you can add fields to a template, you can remove them. When a field gets removed from a template, it disappears from the forms through which new projects and status reports are added as well as from all existing projects and status reports that have been structured using this template.
The values that a removed field holds are not deleted but become hidden from users. They will remain this way until the field is again associated with this project or status report.
To remove a field from the template:
1. Go to Field Configuration and open the relevant template.

2. Locate the field you want to remove, then click the three dots for that field.
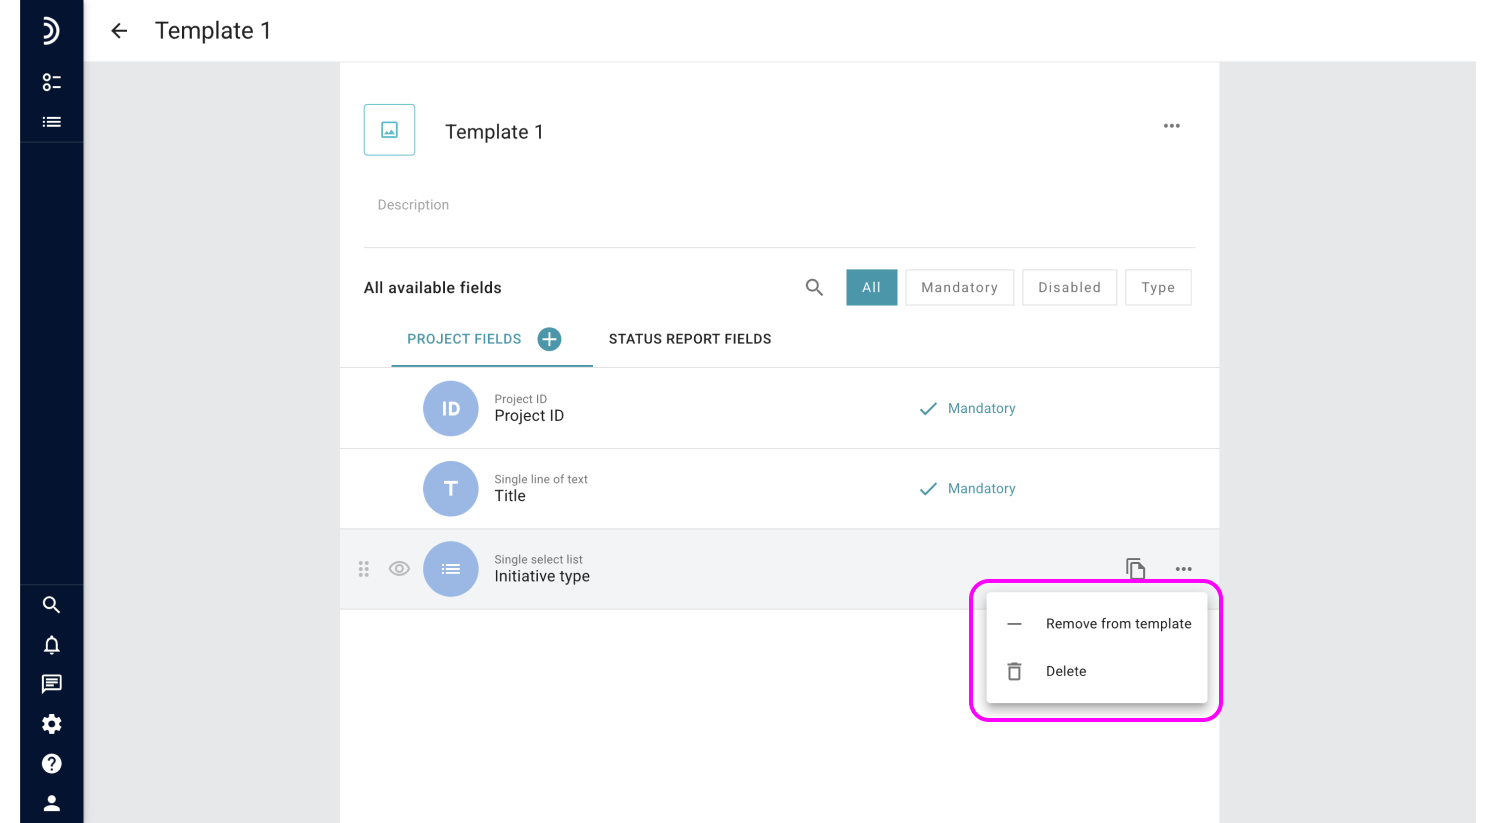
3. Select “Remove from template.”
Your changes will be saved automatically.
Duplicate a template
Duplicating a template helps you save time you would otherwise need to create a similar template from scratch.
To duplicate a template:
1. Go to Field Configuration.

2. Click a template you wish to duplicate.

3. In an open template, click the three dots to the right of the template name.
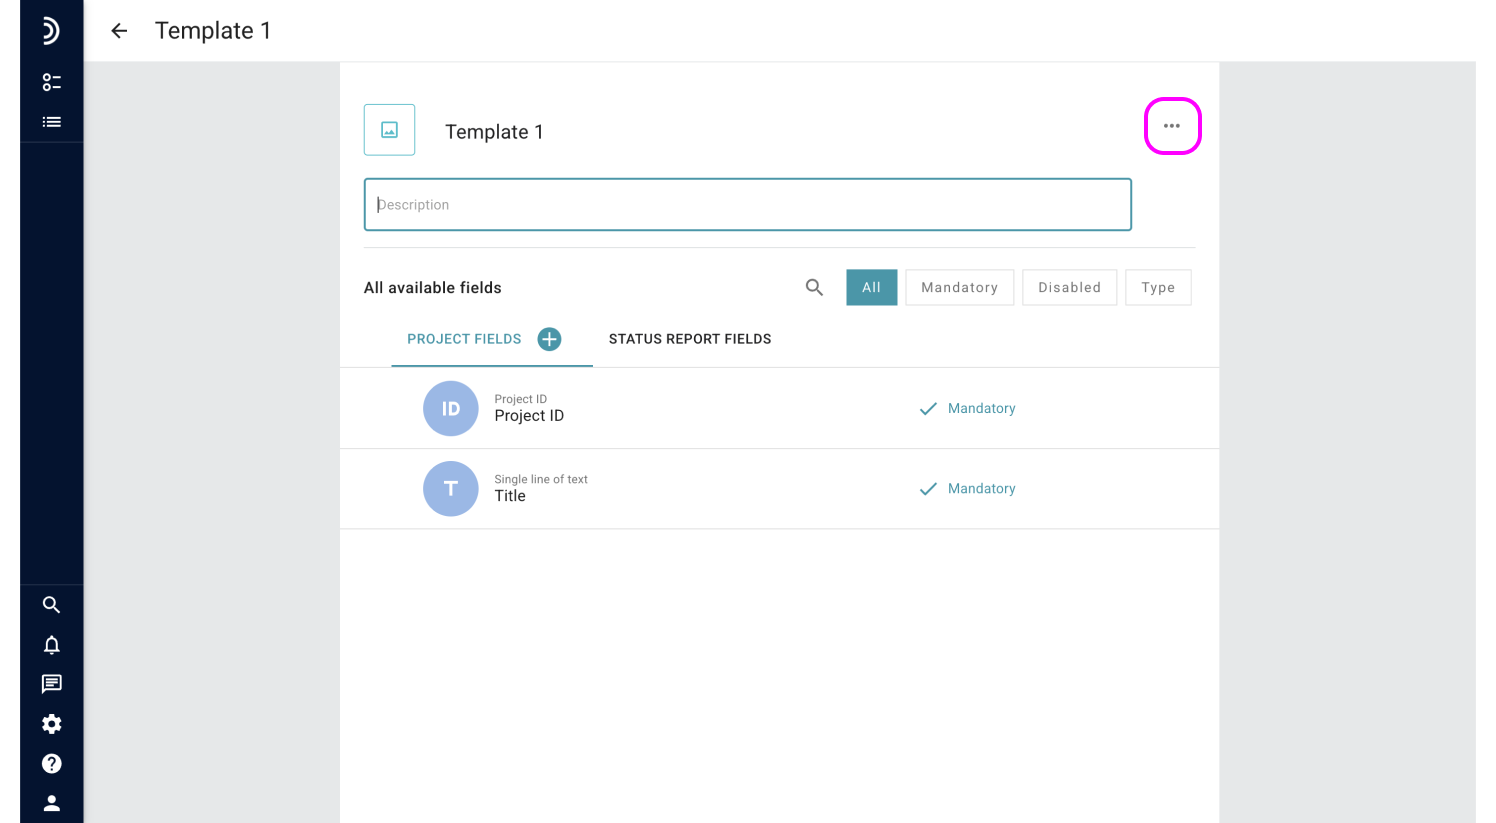
4. Select “Duplicate.”
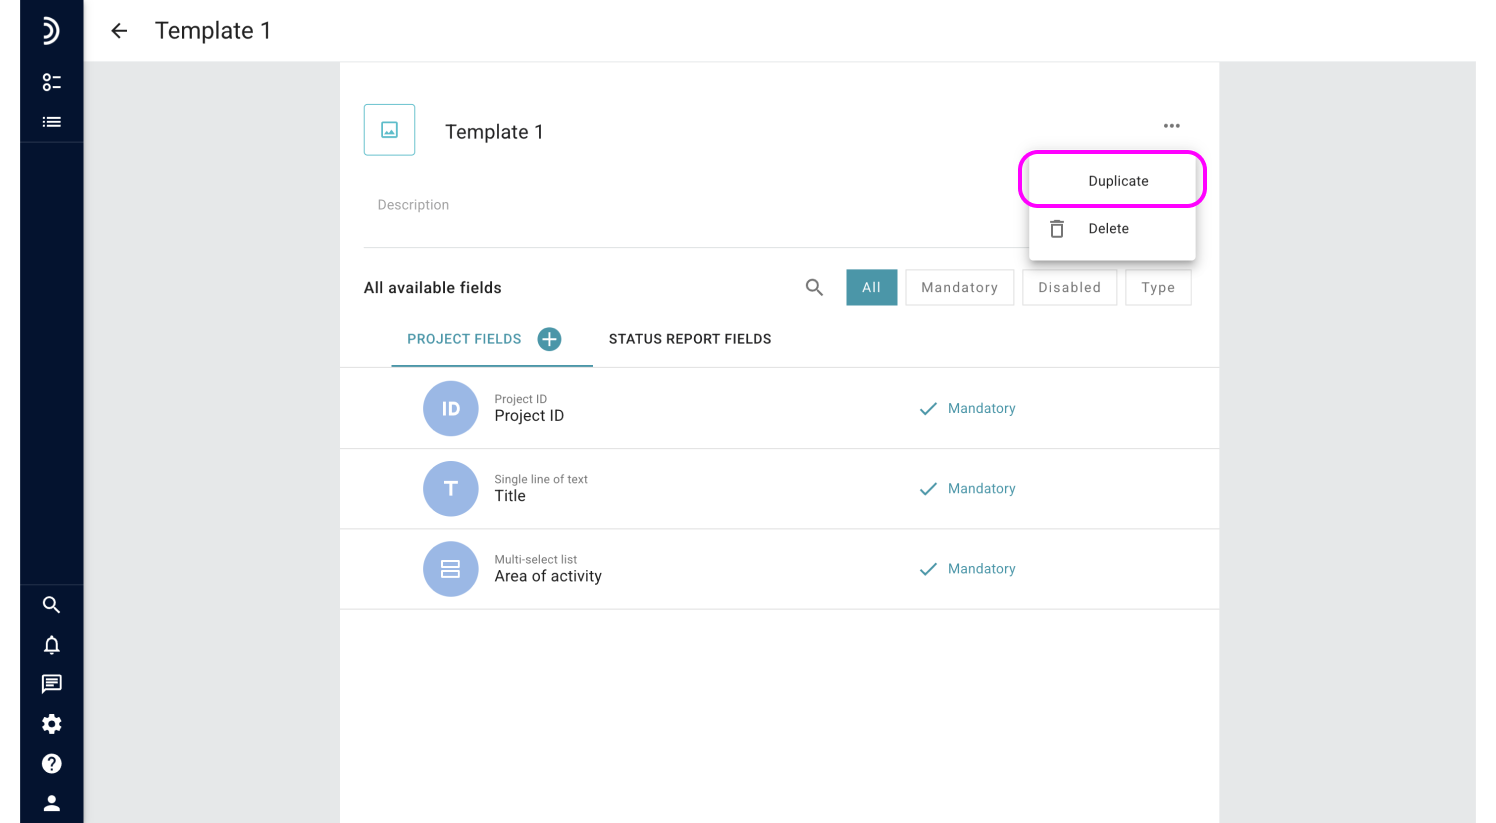
5. Name the new template and click “Save.”
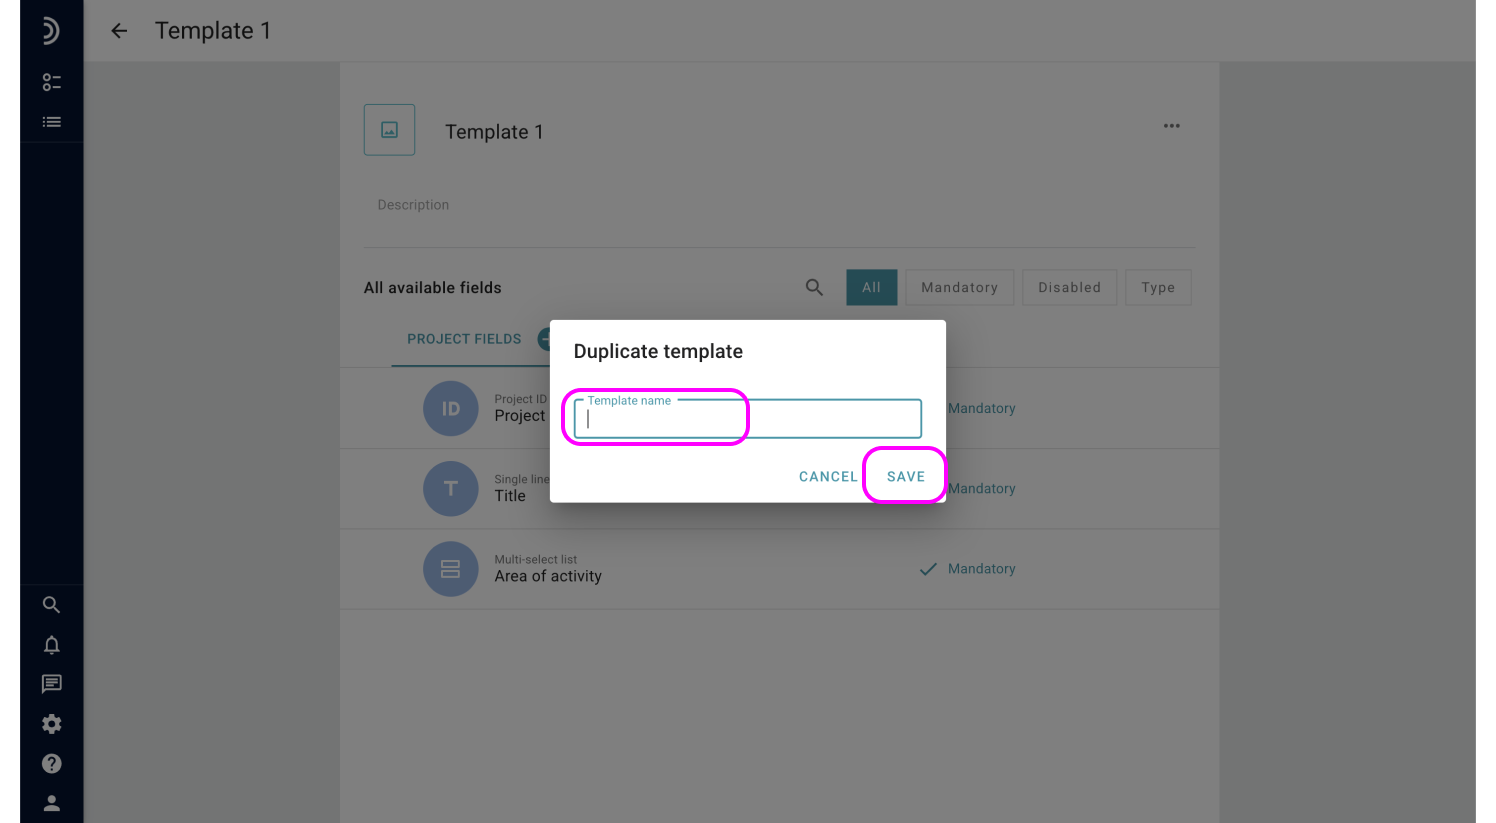
Once you have clicked “Save”, the new template will appear in the Templates section of Field Configuration area.
Delete a template
Templates that have lost their relevance or were never used in projects can be deleted to keep the workspace from getting cluttered.
Note
Deleting a template does not affect any data stored in the fields, nor does it delete fields from the system.
To delete a template:
1. Go to Field Configuration.
2. Click a template you wish to delete.

3. In an open template, click the three dots to the right of the template name.
4. Select “Delete.”
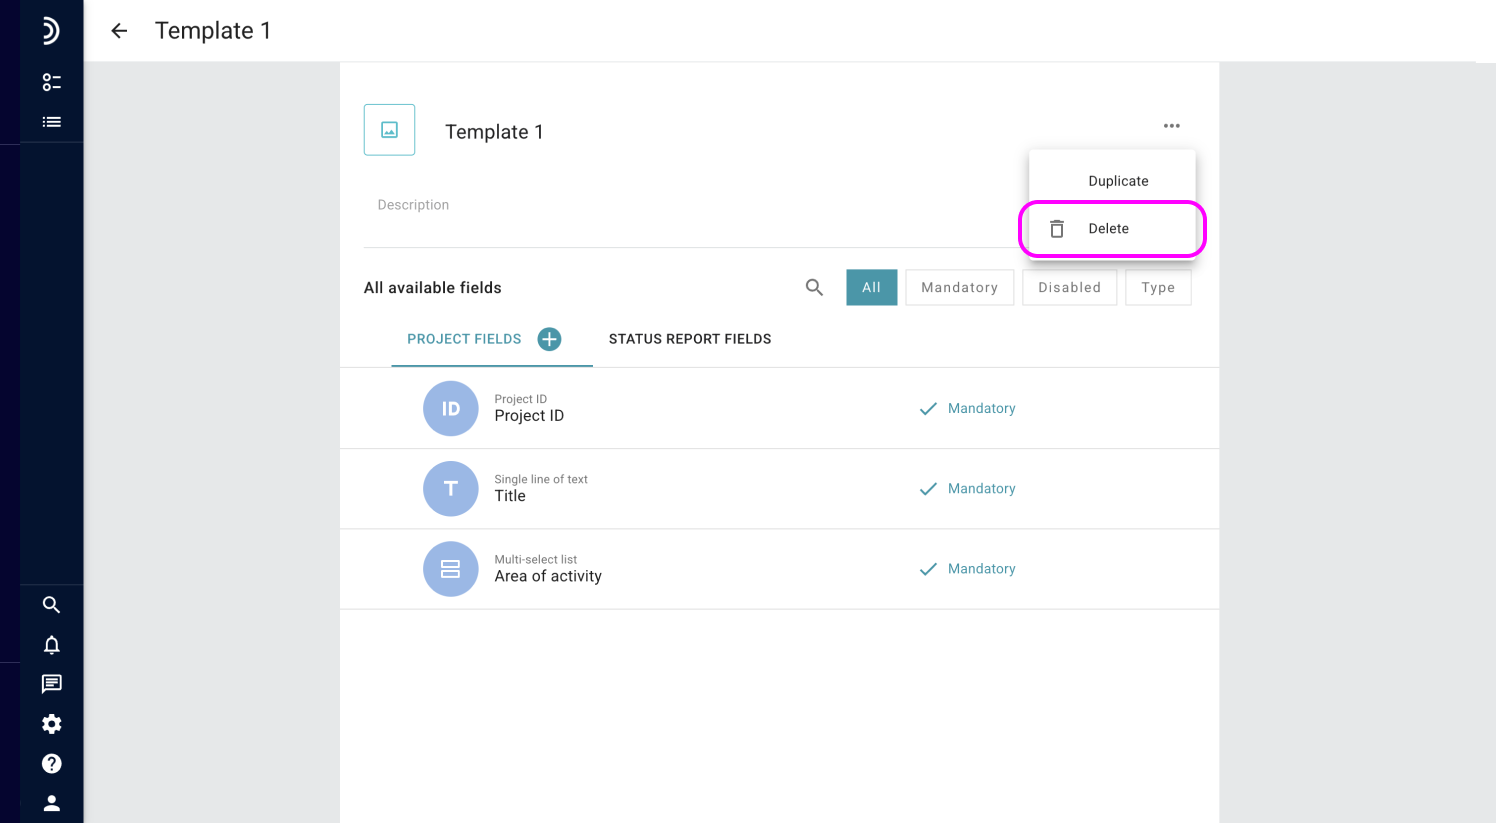
5. Confirm the action by clicking “Delete” once again.
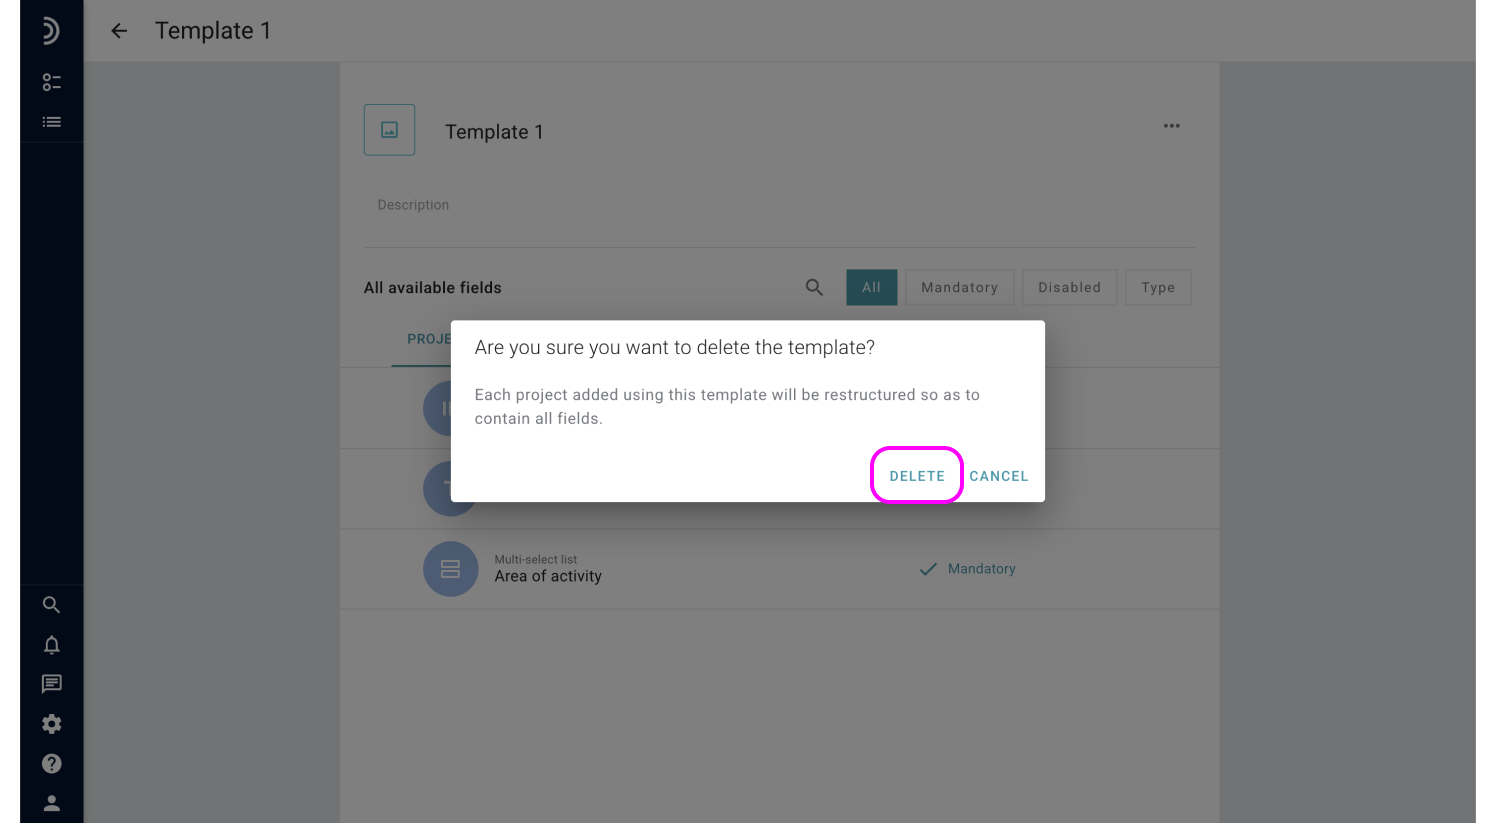
Once the template is deleted, it is gone forever, and projects that have been using this template will be automatically restructured so as to contain all fields.