There are several actions that you can apply to most of the fields without making real changes to them. These include making copies, adjusting visibility, deleting, and setting the order in which fields are presented in lists.
Skip ahead to:
Copying a field
Copying a field lets you quickly create a duplicate of a field within the same location. This is convenient in cases when you need to set up multiple fields in an identical or similar way.
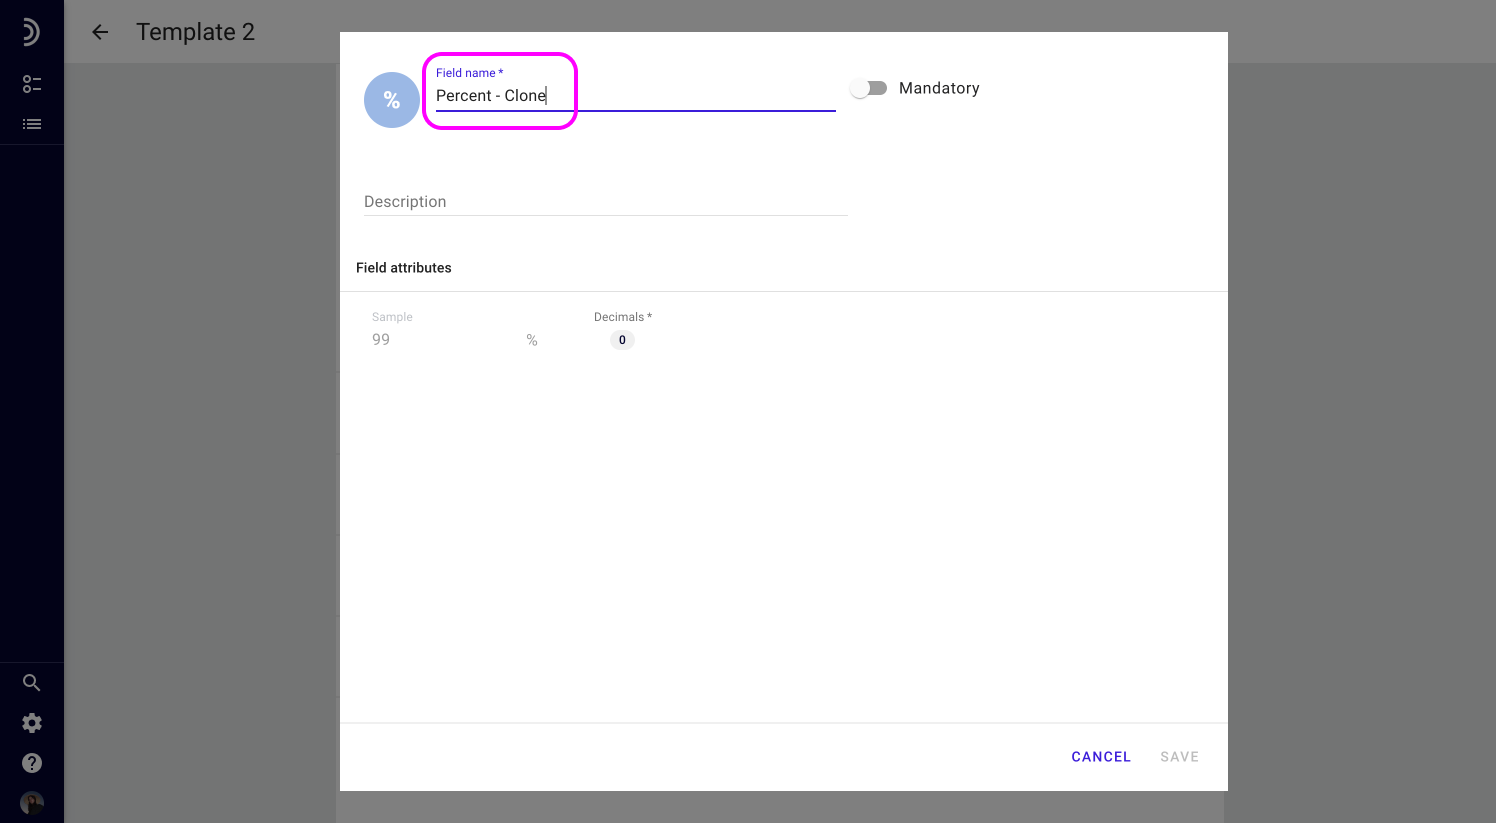
The copy has all the same properties and attributes as the original field, except for the name, which gets automatically appended with “- Copy” to ensure uniqueness.
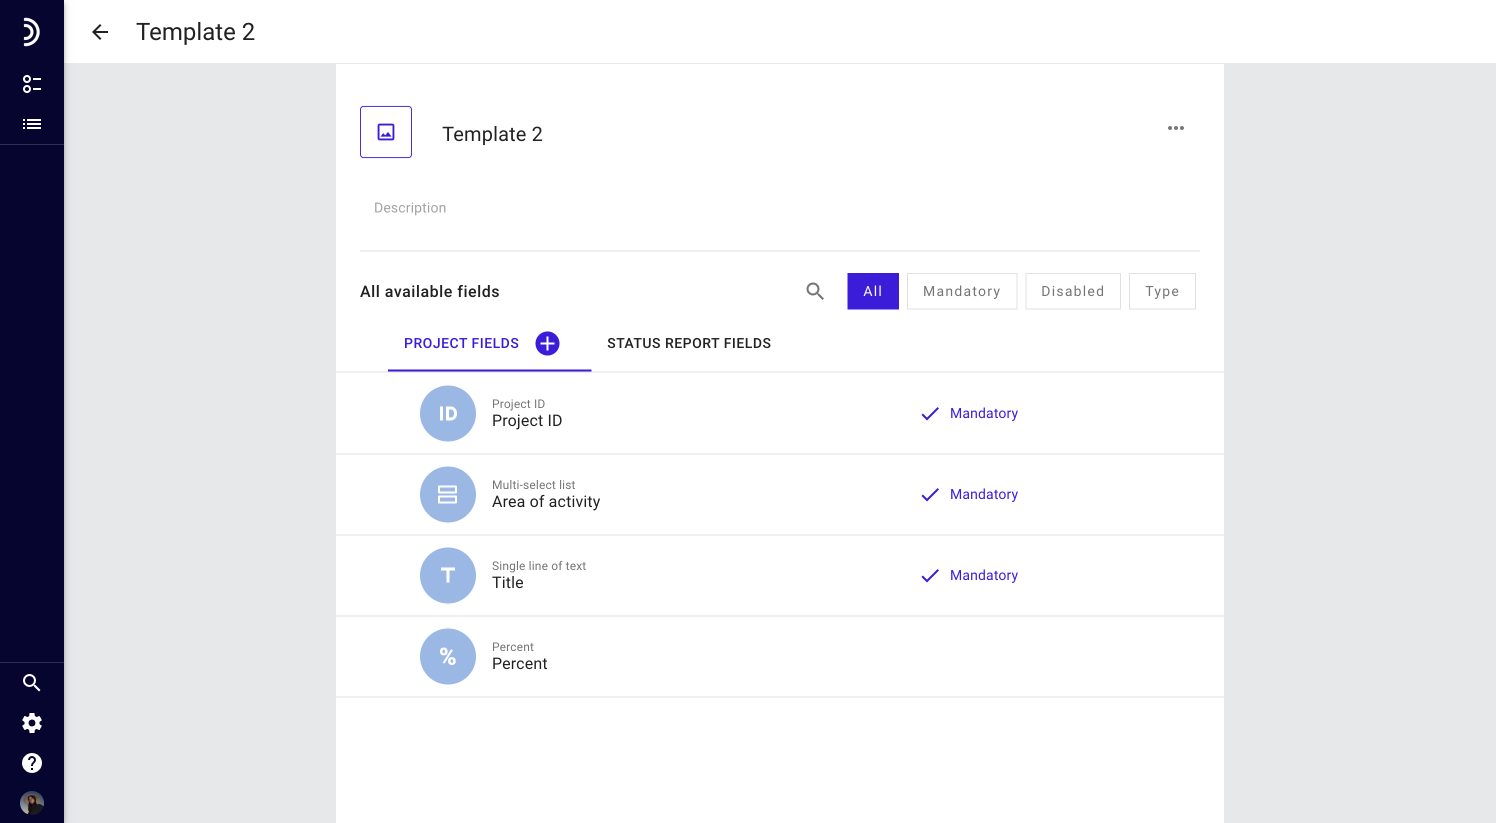
1. Go to Field Configuration to access the list of all fields or open the relevant template.

2. Locate the field you want to copy, then click the copy icon for that field.
3. Optional: Adjust the field name so that it makes sense and is recognizable.

4. Click Save.
Rearranging fields
The order of fields in the general list under Field Configuration and in templates dictates how these fields appear on forms for adding new projects.
To rearrange fields in the required order:
1. Go to Field Configuration to access the list of all fields or open the relevant template.

2. Locate the field you want to reposition, then click and hold the drag icon located on the left.
3. Drag the field vertically and drop it in the required position.
The new field order is saved automatically.
Note
The order of the fields within a template does not affect how these fields are presented in the general list and vice versa.
Disabling and enabling fields
Disabling a field lets you easily remove it from all forms and existing projects without deleting the field itself or its data completely.
Note
Disabling a field that is set as the default symbol, sector, or ring value will prevent a view from opening. For the view to operate correctly again, it is required that a new field is assigned as the default under the Look & Feel section in the view settings.
To disable a field:
1. Go to Field Configuration to access the general list of fields.
2. Locate the field you want to disable and click the eye icon.
Note
System fields cannot be disabled. Regular mandatory fields can only be disabled after they have been set to non-mandatory.
Users without access to Field Configuration cannot see the disabled fields, cannot access information that those fields hold, and are not required to enter any field values when they add a new project or status report.
To enable a field:
1. Go to Field Configuration to access the general list of fields.
2. Locate the field you want to enable and click the slashed eye icon.
As soon as the field is enabled, it will again appear in all the original places, and the previously entered information will become available for viewing and editing.
Note
You can enable or disable a field only from the general list under Field Configuration. But any change you make will also apply to templates that contain this field.
Deleting a field
It is helpful to think of the fields as containers whose main purpose is to capture and store discrete pieces of content. Without fields, no type of data can exist and be displayed, and thus deleting a field will inevitably delete the values associated with it all over the system.
Note
You can delete any of the fields according to your requirements, with the exception of system fields that cannot be deleted under any circumstances.
To delete a field:
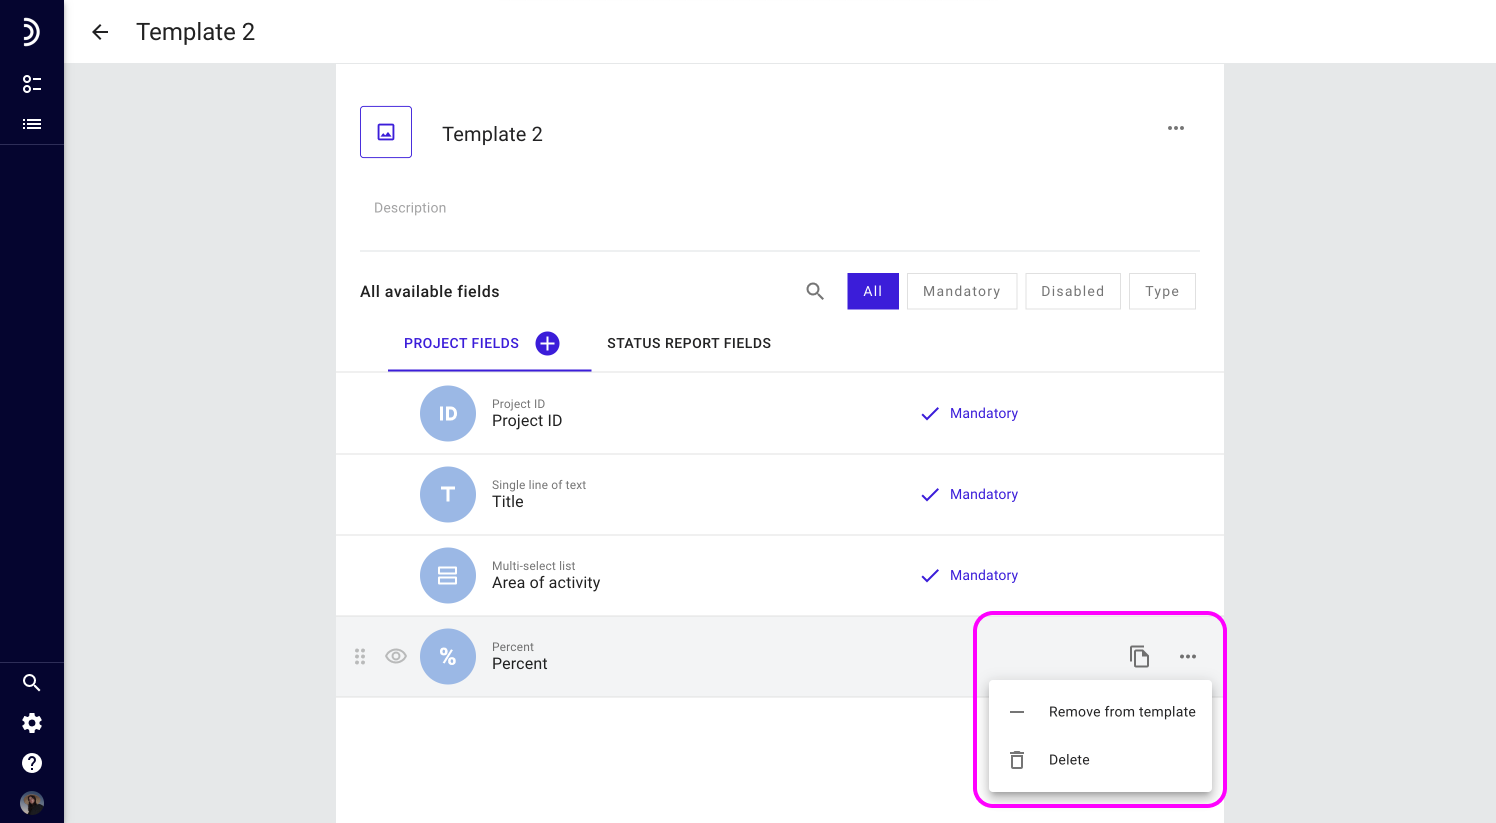
1. Open the list of fields under Field Configuration or in a template.
2. Locate the field you want to delete and click the bin icon, or open the field itself and then click Delete field in the bottom left corner.

3. Confirm your choice by clicking Delete once again.
The action of deleting a field is irreversible and should generally be avoided. This is especially important if you know that the field was used in projects, status reports, or views.
Note
Deleting a field that is selected as the default symbol, sector or ring value will not allow a view to open. In order to make the view work correctly again, you should assign a new field in the Look & Feel section of the view settings.